Using Flash Outdoors
Now you might not think you need a flash on a super sunny day. I didn't think I did either until I worked with some professional photographers who shot skateboarding events and they taught me a thing or two about using fill flash.
This topic has paralyzed me for years - using fill flash with action and sports photos.
In this video I show you how I use fill flash, and how to keep things simple so you can do it too.
This technique works for any flash and camera combination but you need to be able to set up high speed sync on your camera and your flash because we're talking bright sunny days here, right?
One of the drawbacks with using fill flash with fast moving action photography is really, you only get one shot.
The Flash doesn't recharge fast enough for you to get your usual 12 or more frames per second burst. So you can't use burst and because of that you have to get your timing right.
Timing is critical.
It's fairly easy to get your timing right when you're shooting with a high burst rate but when you're shooting one picture at a time it does take a bit more practice. With experience you'll know exactly when to press the shutter so you capture the peak action.
When using flash, there is a slight delay between when you press the shutter button and when the picture gets taken.
That delay needs to be learned.
You need to figure out where your subject is moving to, and when to press the shutter button to anticipate that peak moment of action. And that's not an easy thing to do.
So you're going to have to learn new timing and that's critical to getting your photos looking their best.

Timing is everything
Practice!
Just get out there and take pictures. Sometimes you have to take a couple thousand pictures before you master a certain skill. And that's what you're going to have to do with Fill Flash.
The Setup
Here's the setup I use with my G9 using the Godox v860ii, and this is for Olympus or Panasonic cameras.
Put your flash on TTL - TTL is through-the-lens. So basically that means it has automatic exposure.
Make sure that you understand how to add or remove light. It's like the exposure compensation button. It works in 1/3 f-stop increments.
So you'll notice that it goes down 0.3, 0.7 and 1.0. So there's three Clicks in between each full stop (Ev) of light.
So remember one f-stop (Ev) of light either adds or removes half or double the amount of light. So if you plus one, (+1) you double the amount of light coming out of your flash. If you minus one (-1) it cuts that light in half.
In my experience, leaving it at zero was fine. But if you are really close to your subject you don't want to overpower your subject with too much flash or it doesn't look natural.
When you're shooting outdoors in bright sun and you're trying to freeze the action you probably need a faster shutter speed than the usual sync speed of the camera, which in the case of the G9 is 1/250th of a second.
So in that case you push this button here and you can see that high speed sync shows up. So that's high speed synchronization and that allows you to use faster shutter speeds than 1/250th of a second.
Go into your Flash menu on the camera. Go to flash mode and just choose the full on flash mode. There's like a red eye mode, and a "no flash" mode in this case and I'm just putting it on full on flash. There is something called Flash Synchro and you can choose first or second curtain sync, so it's either at the beginning of your exposure or the end of your exposure. I like to set it up for first curtain sync. I didn't really notice any difference in timing but I would like to think that first curtain sync I'd be a bit more accurate because like I mentioned your timing is super important when using fill flash.
Flash adjustment - you can adjust that on the flash itself or you can adjust it in the camera. I prefer to adjust it on the flash so that I can see what's going on and you know have a have a direct connection.
Choose your ISO. I'm shooting in manual mode here so manual exposure.
So I'm choosing ISO, shutter speed, f-stop, all manually.
So for a bright sunny day I might choose ISO 200. Now for me when I'm shooting sports I like to shoot at at least 1/1000 of a second so I'm going to set my shutter speed to 1/1000s. And I'll just start with f 5.6 somewhere down in that range.
TIP: If you don't know where to start with your exposure just take a photo at the shutter speed you're going to use at the ISO you're going to use and then see what f-stop works to give you a good overall exposure. And you can actually have your subject in the frame as well if you want to start with that.
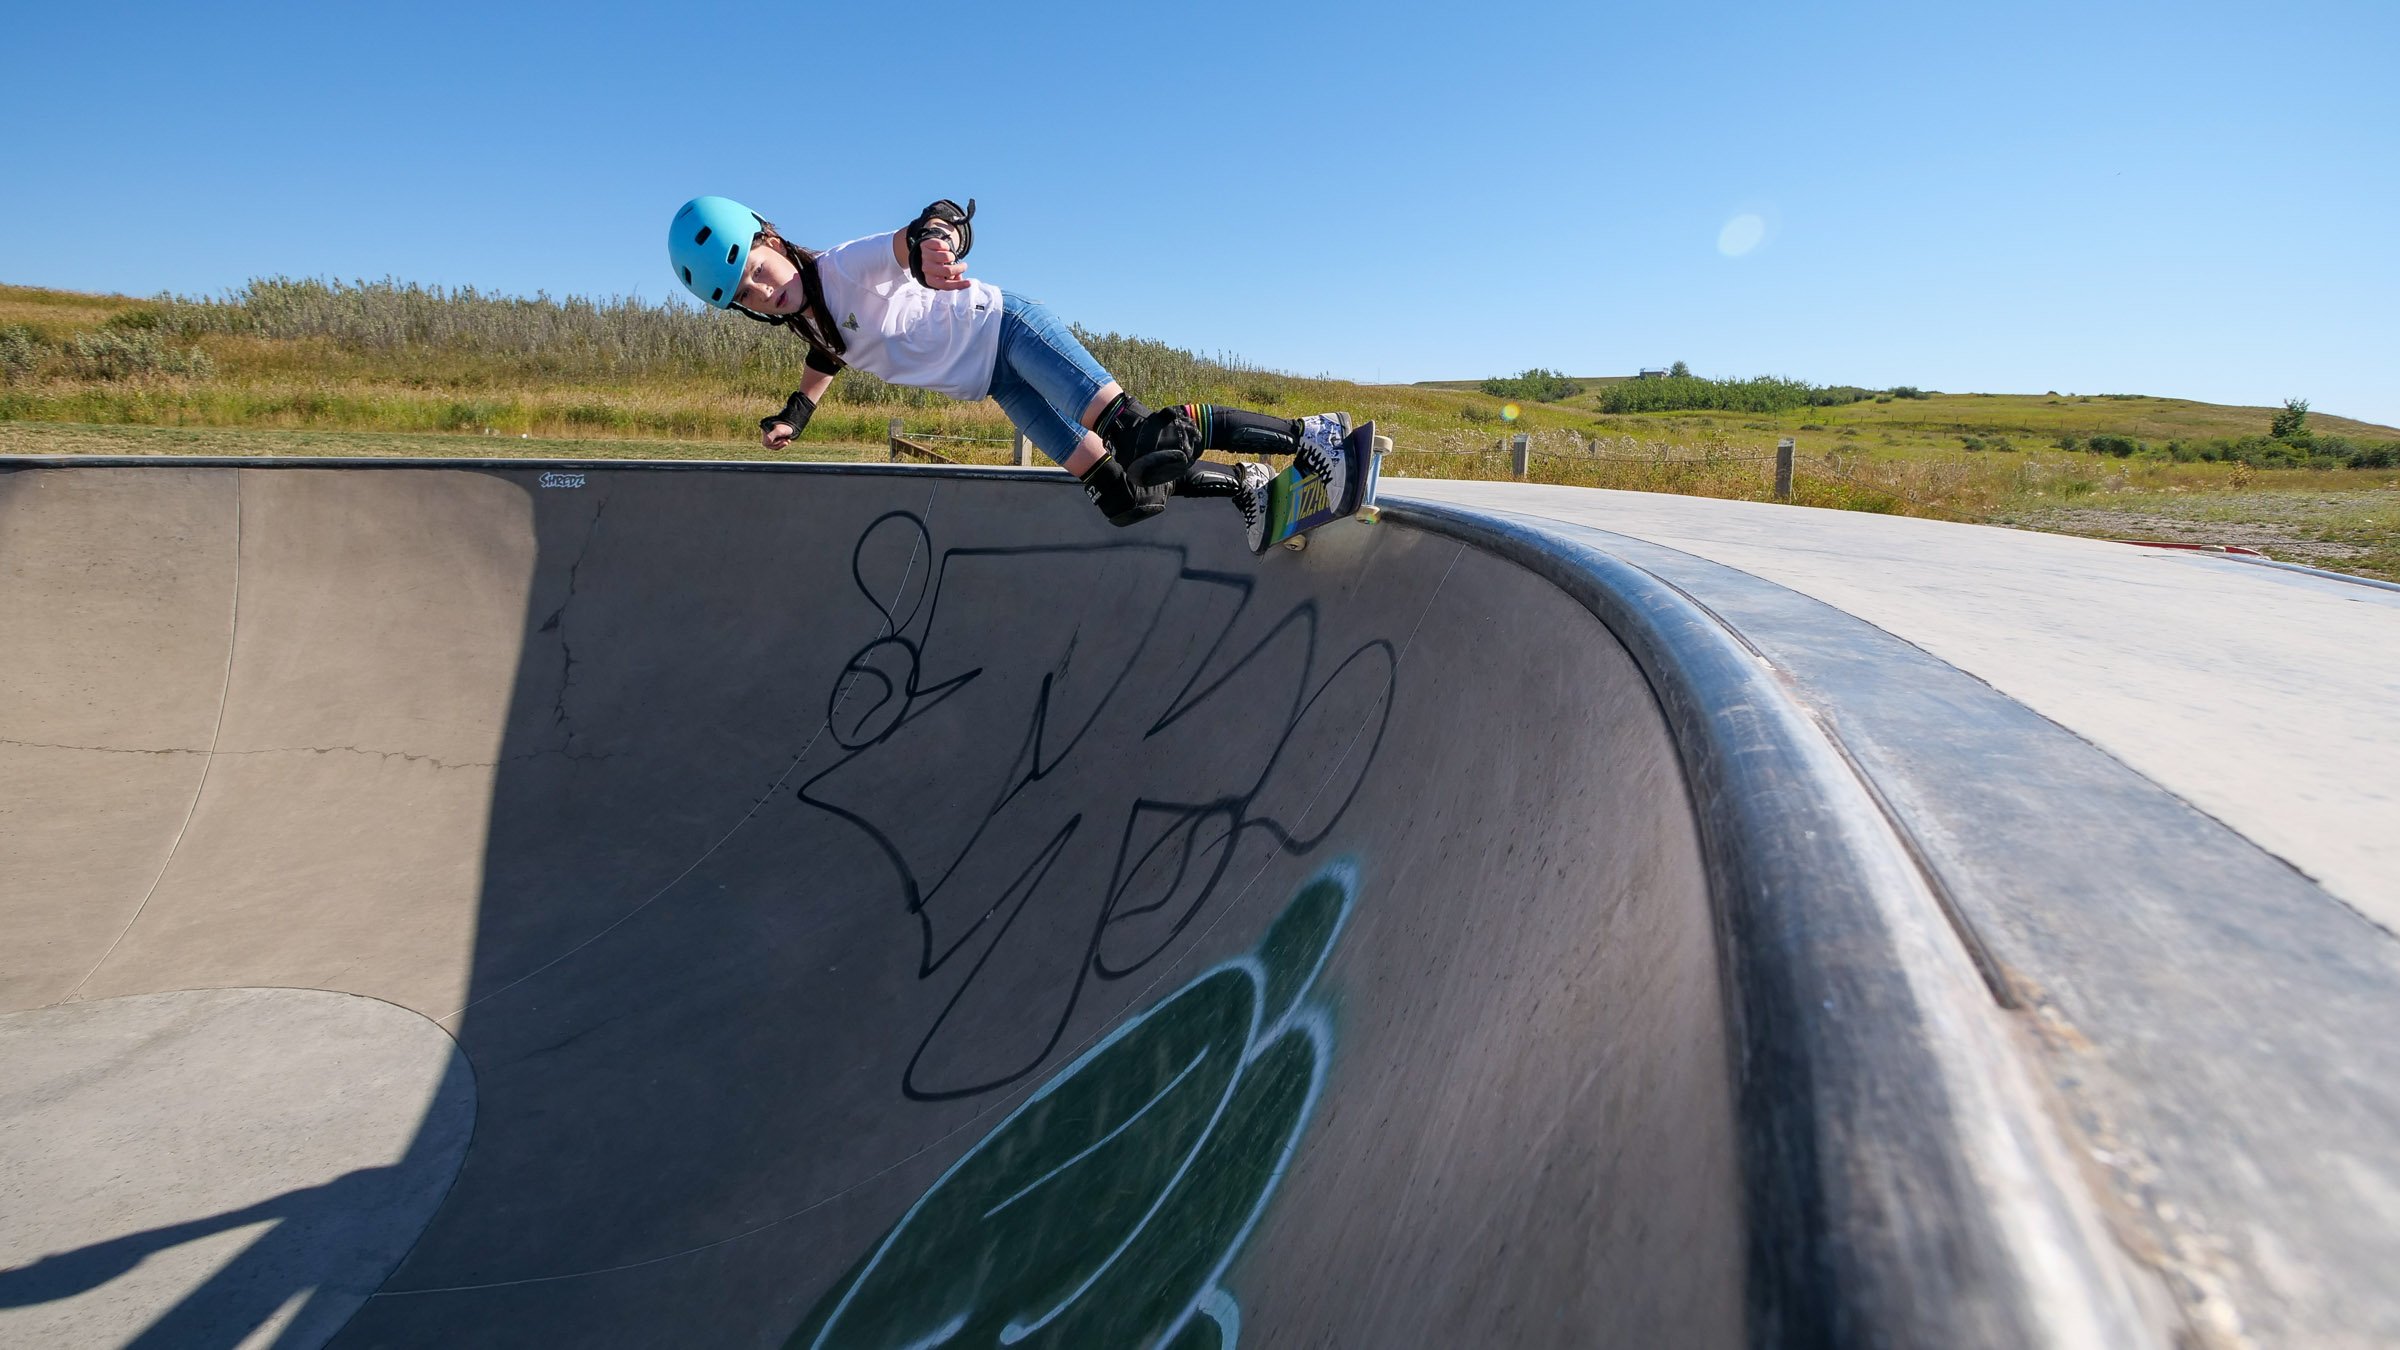
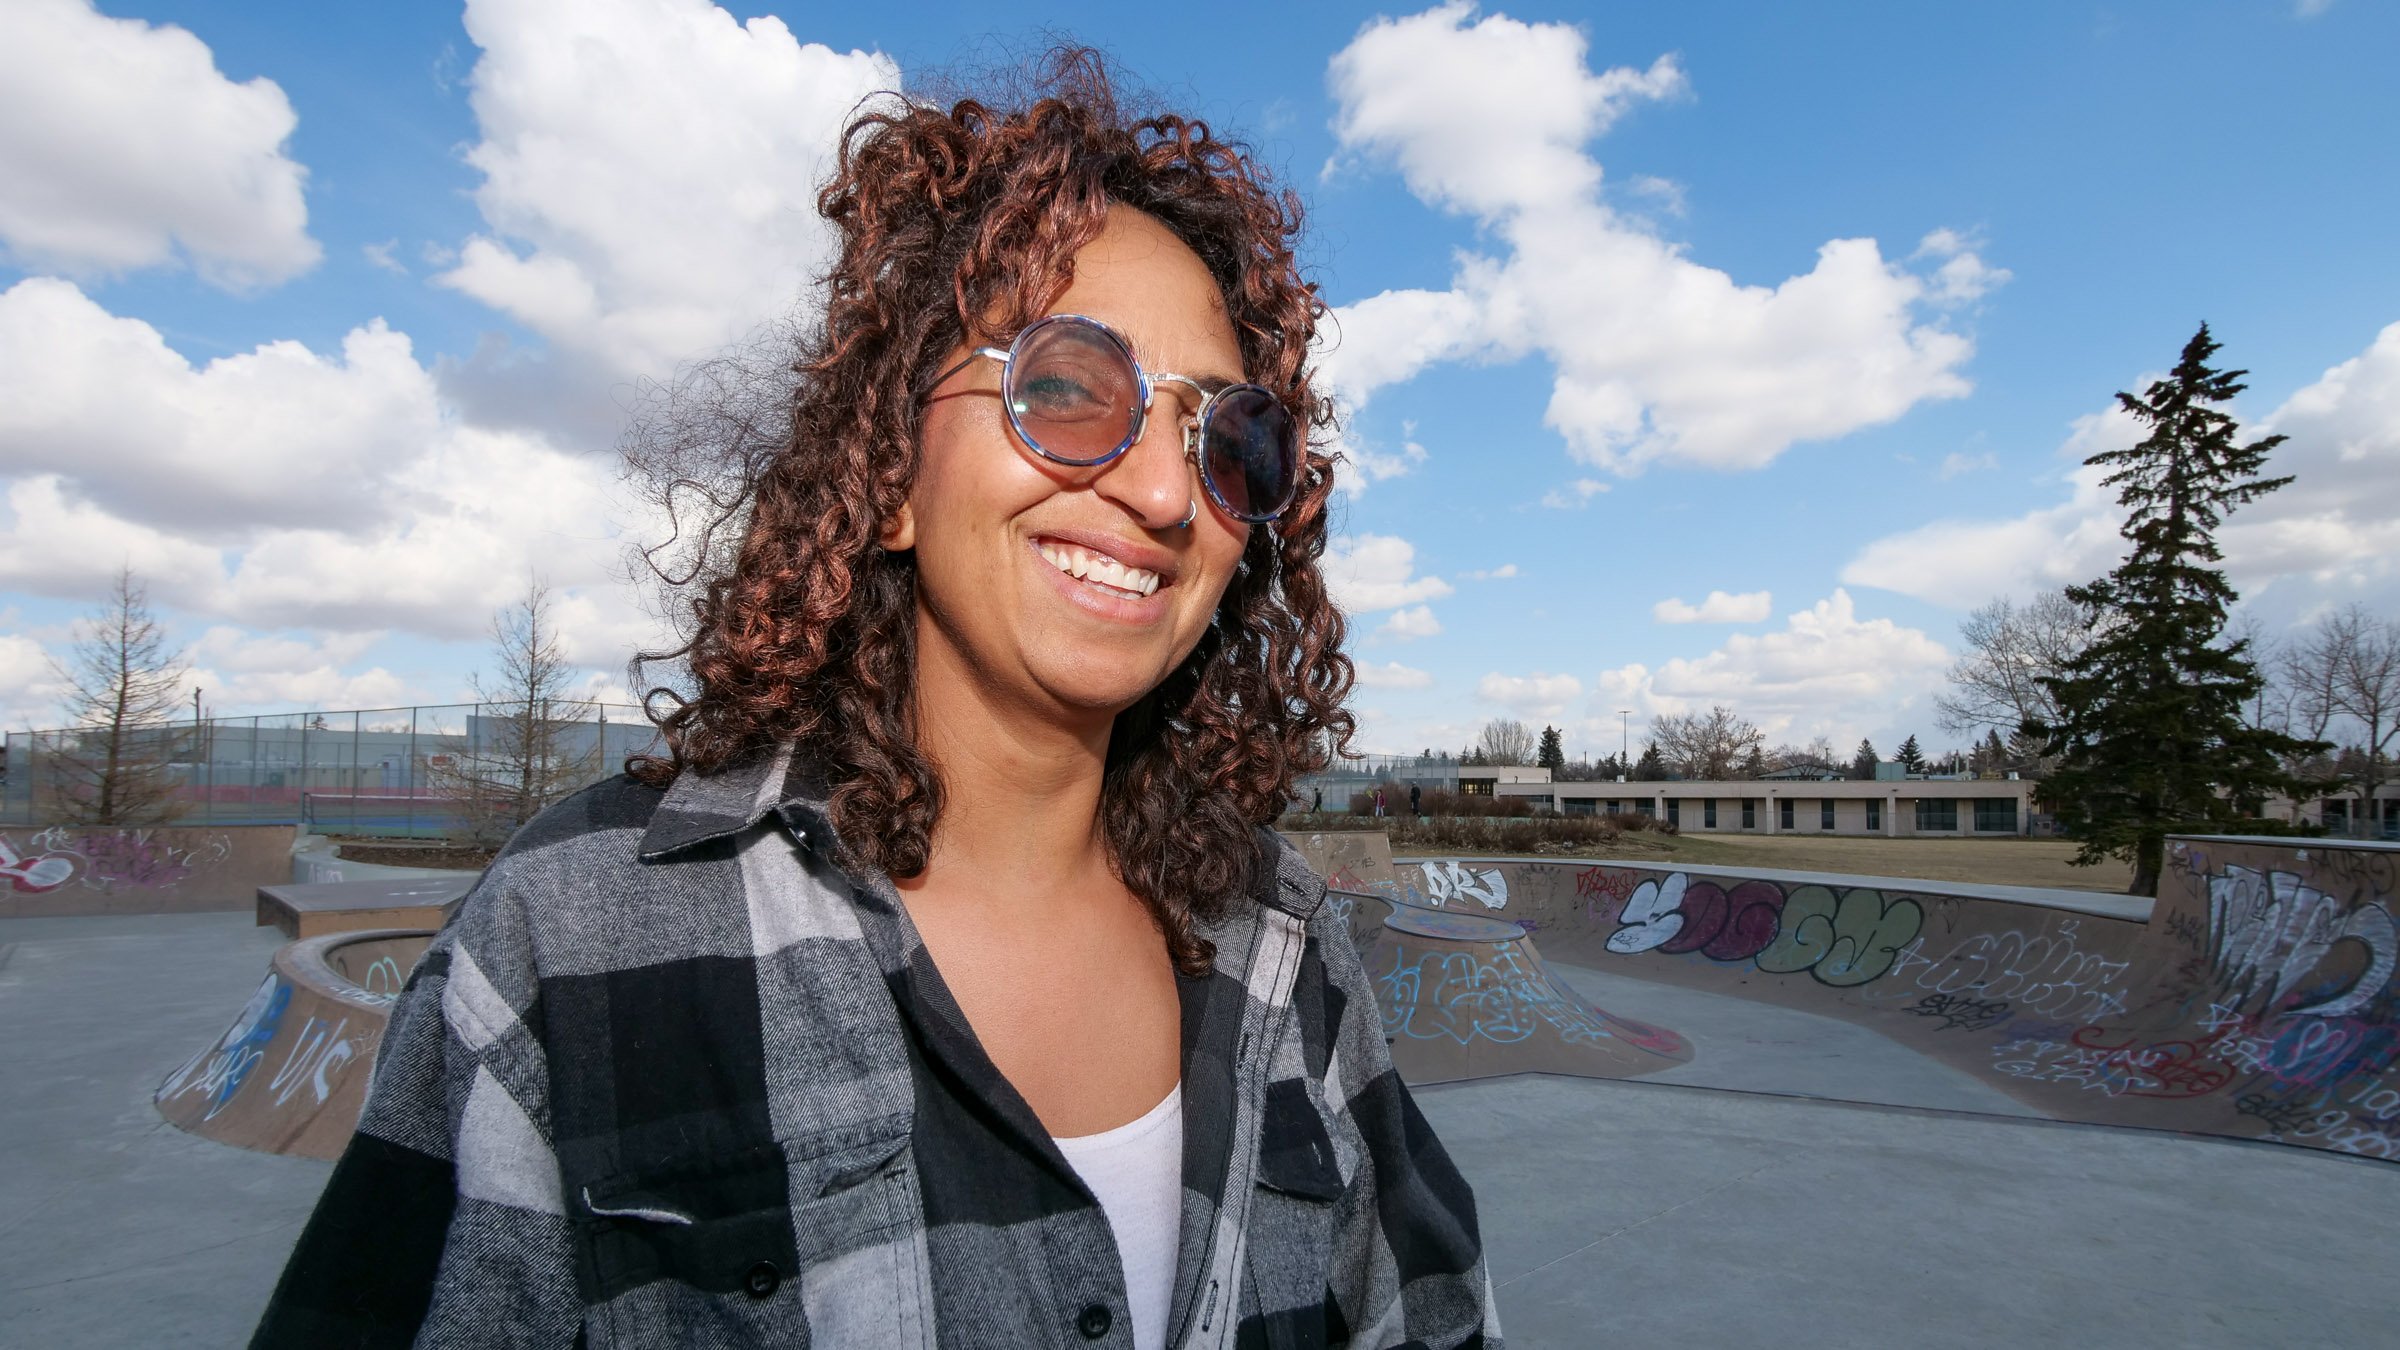
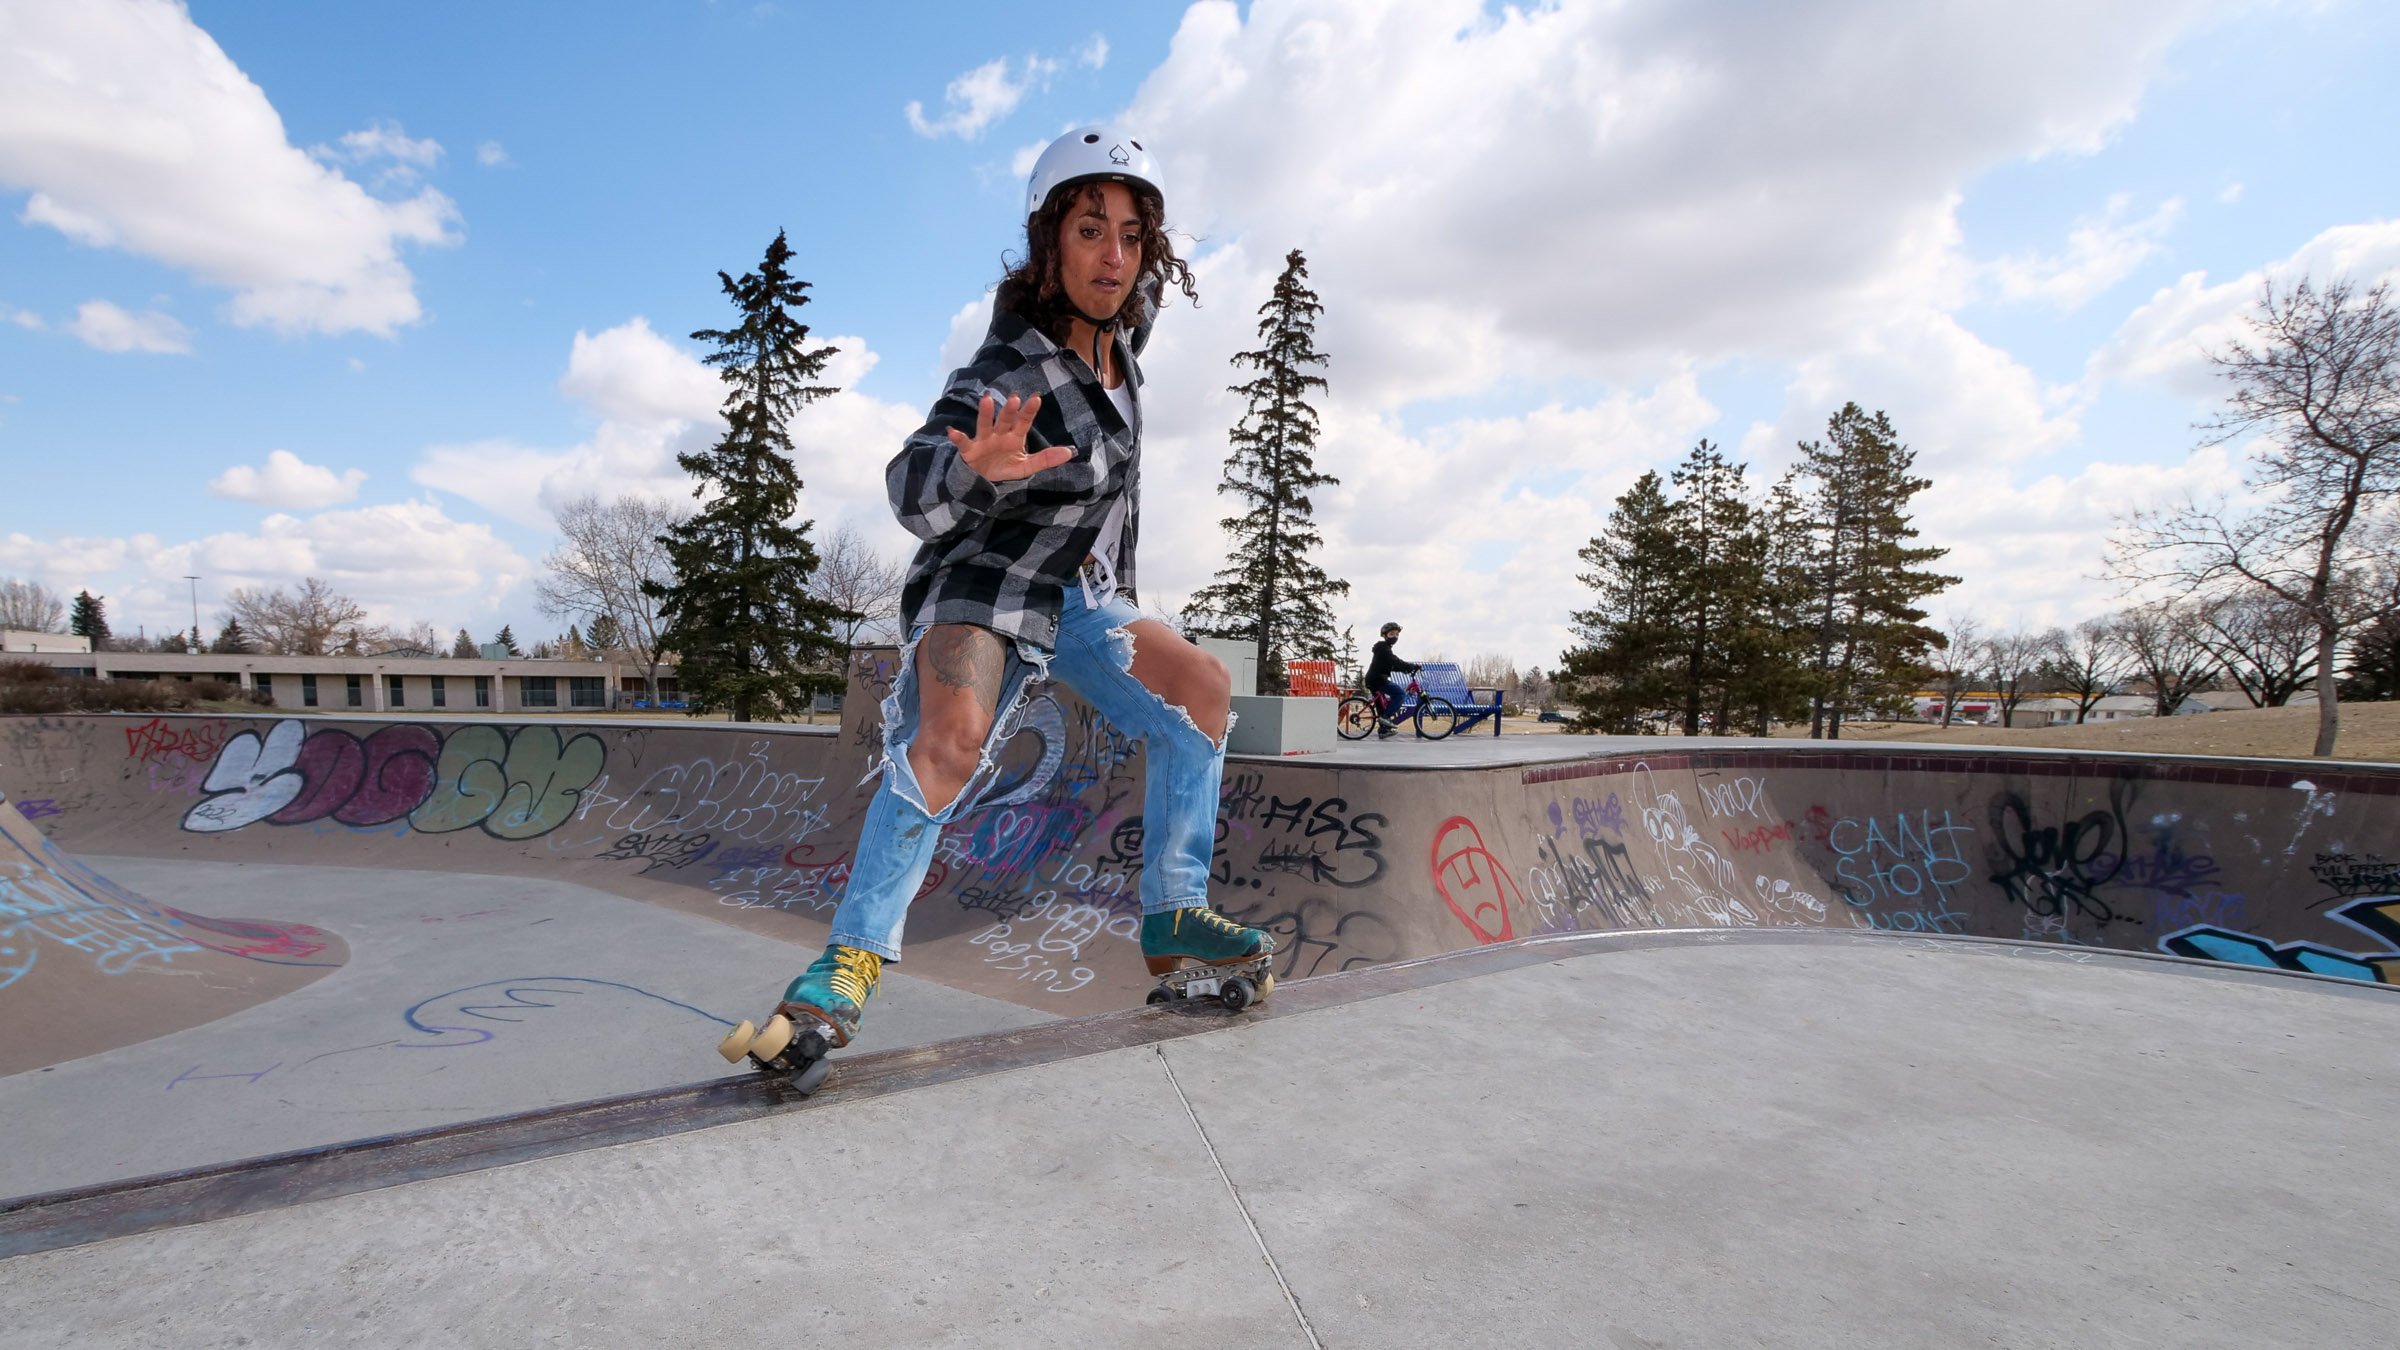
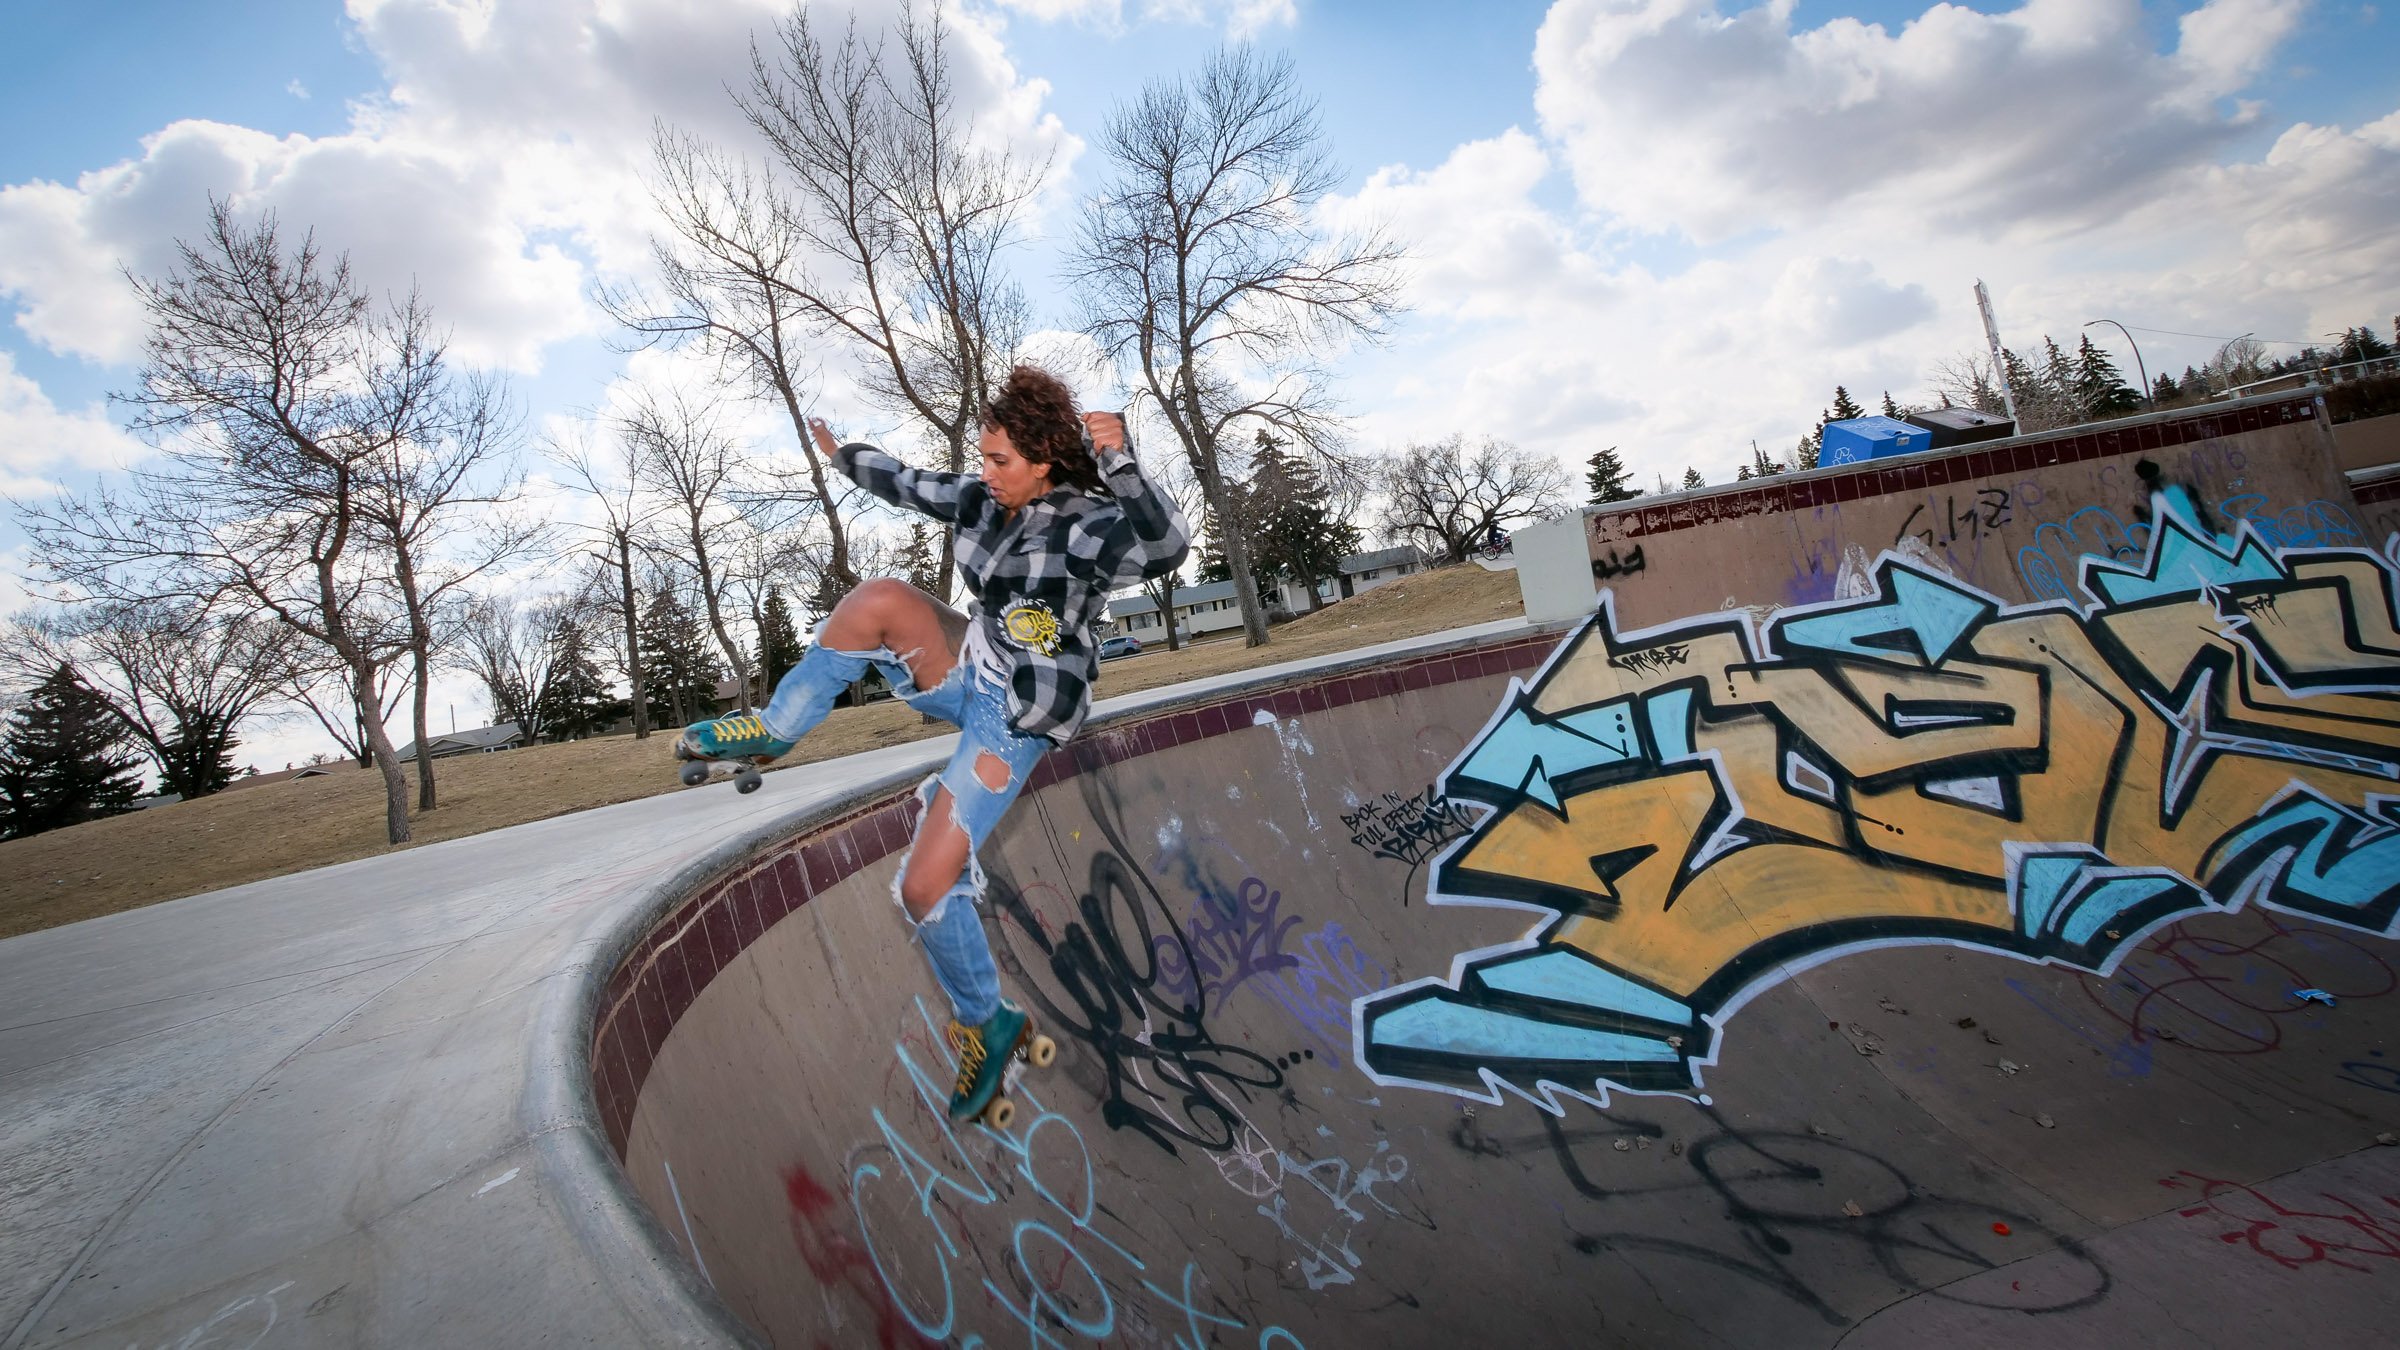
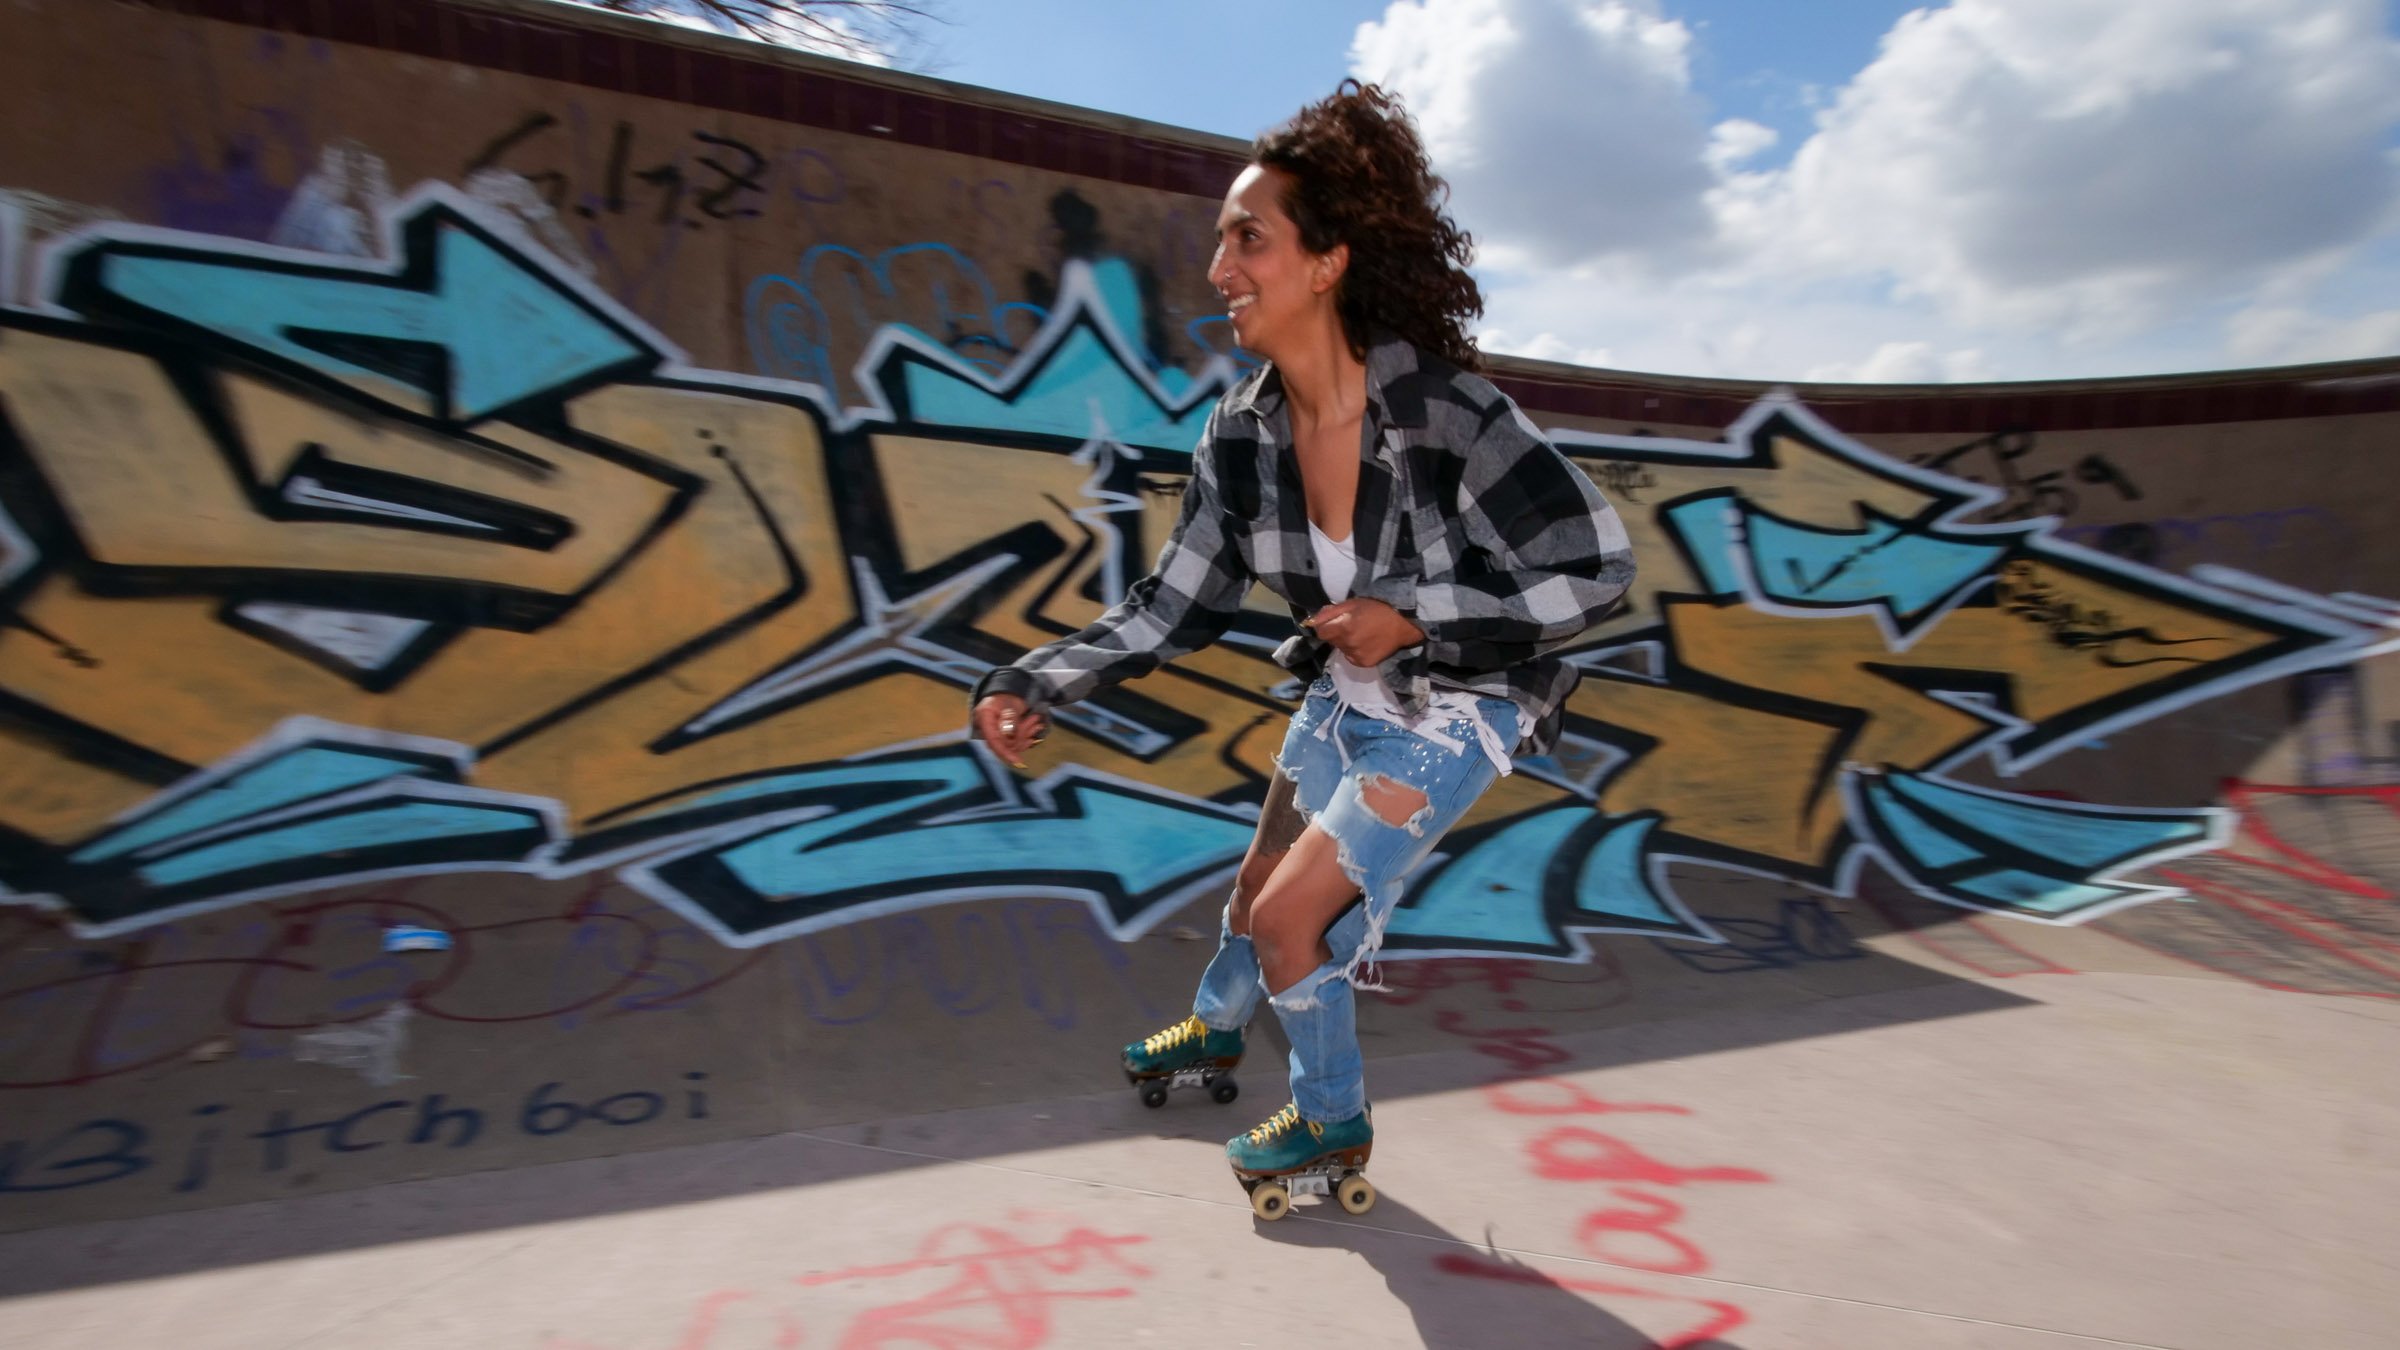
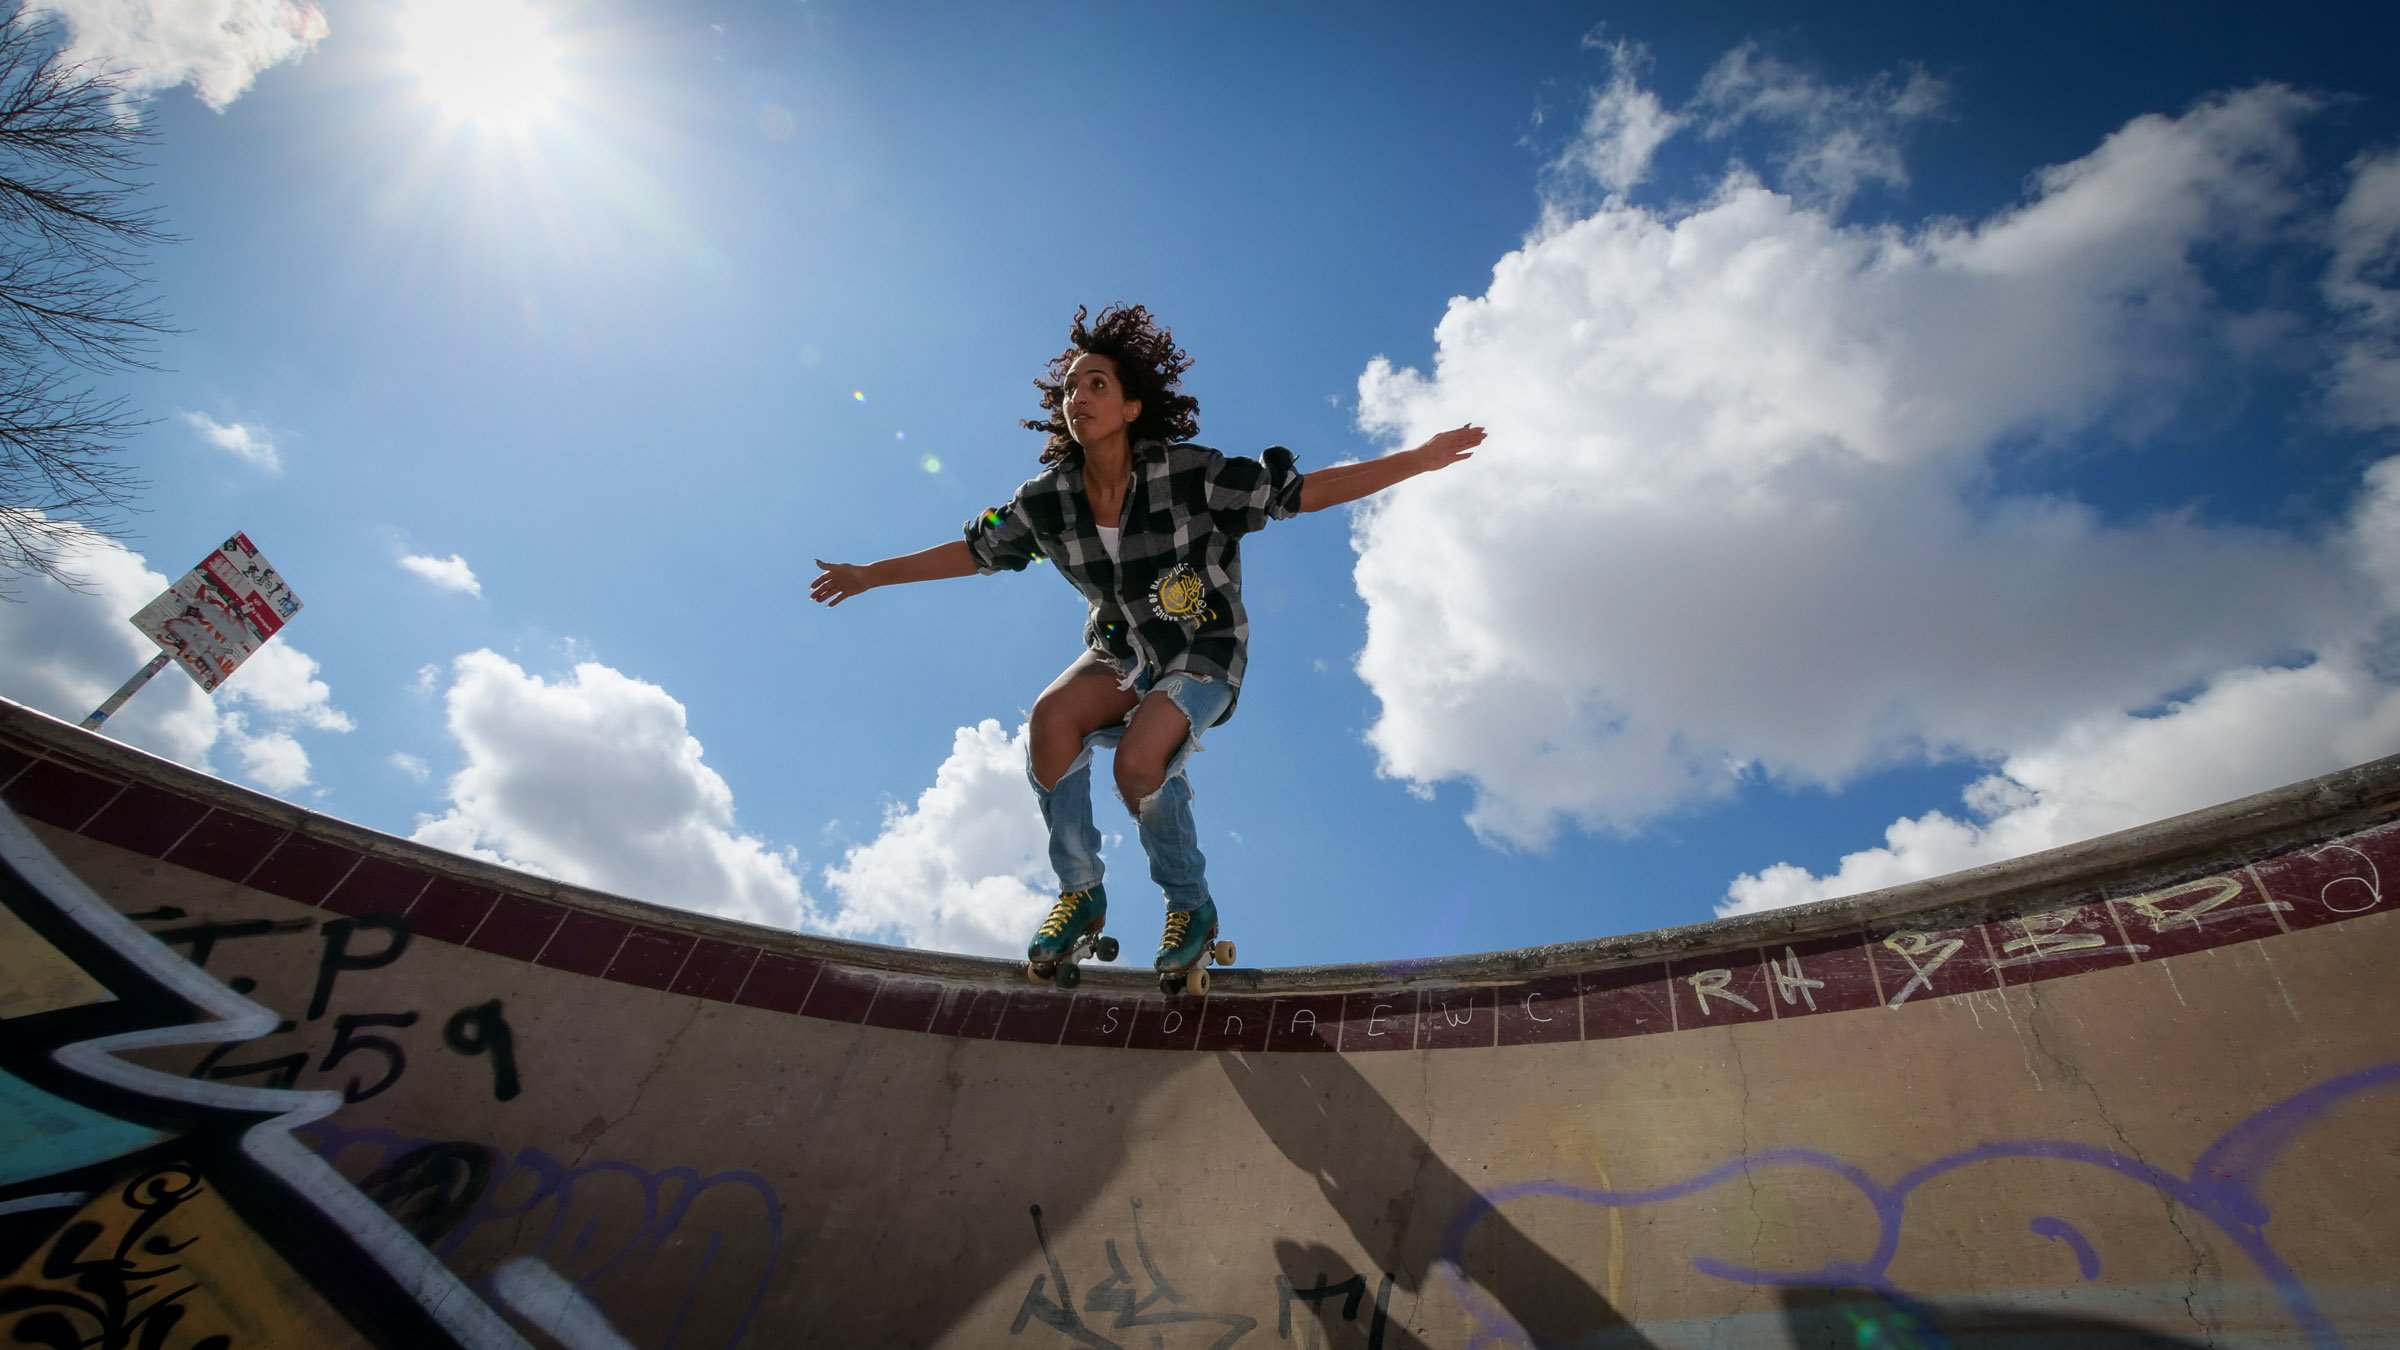
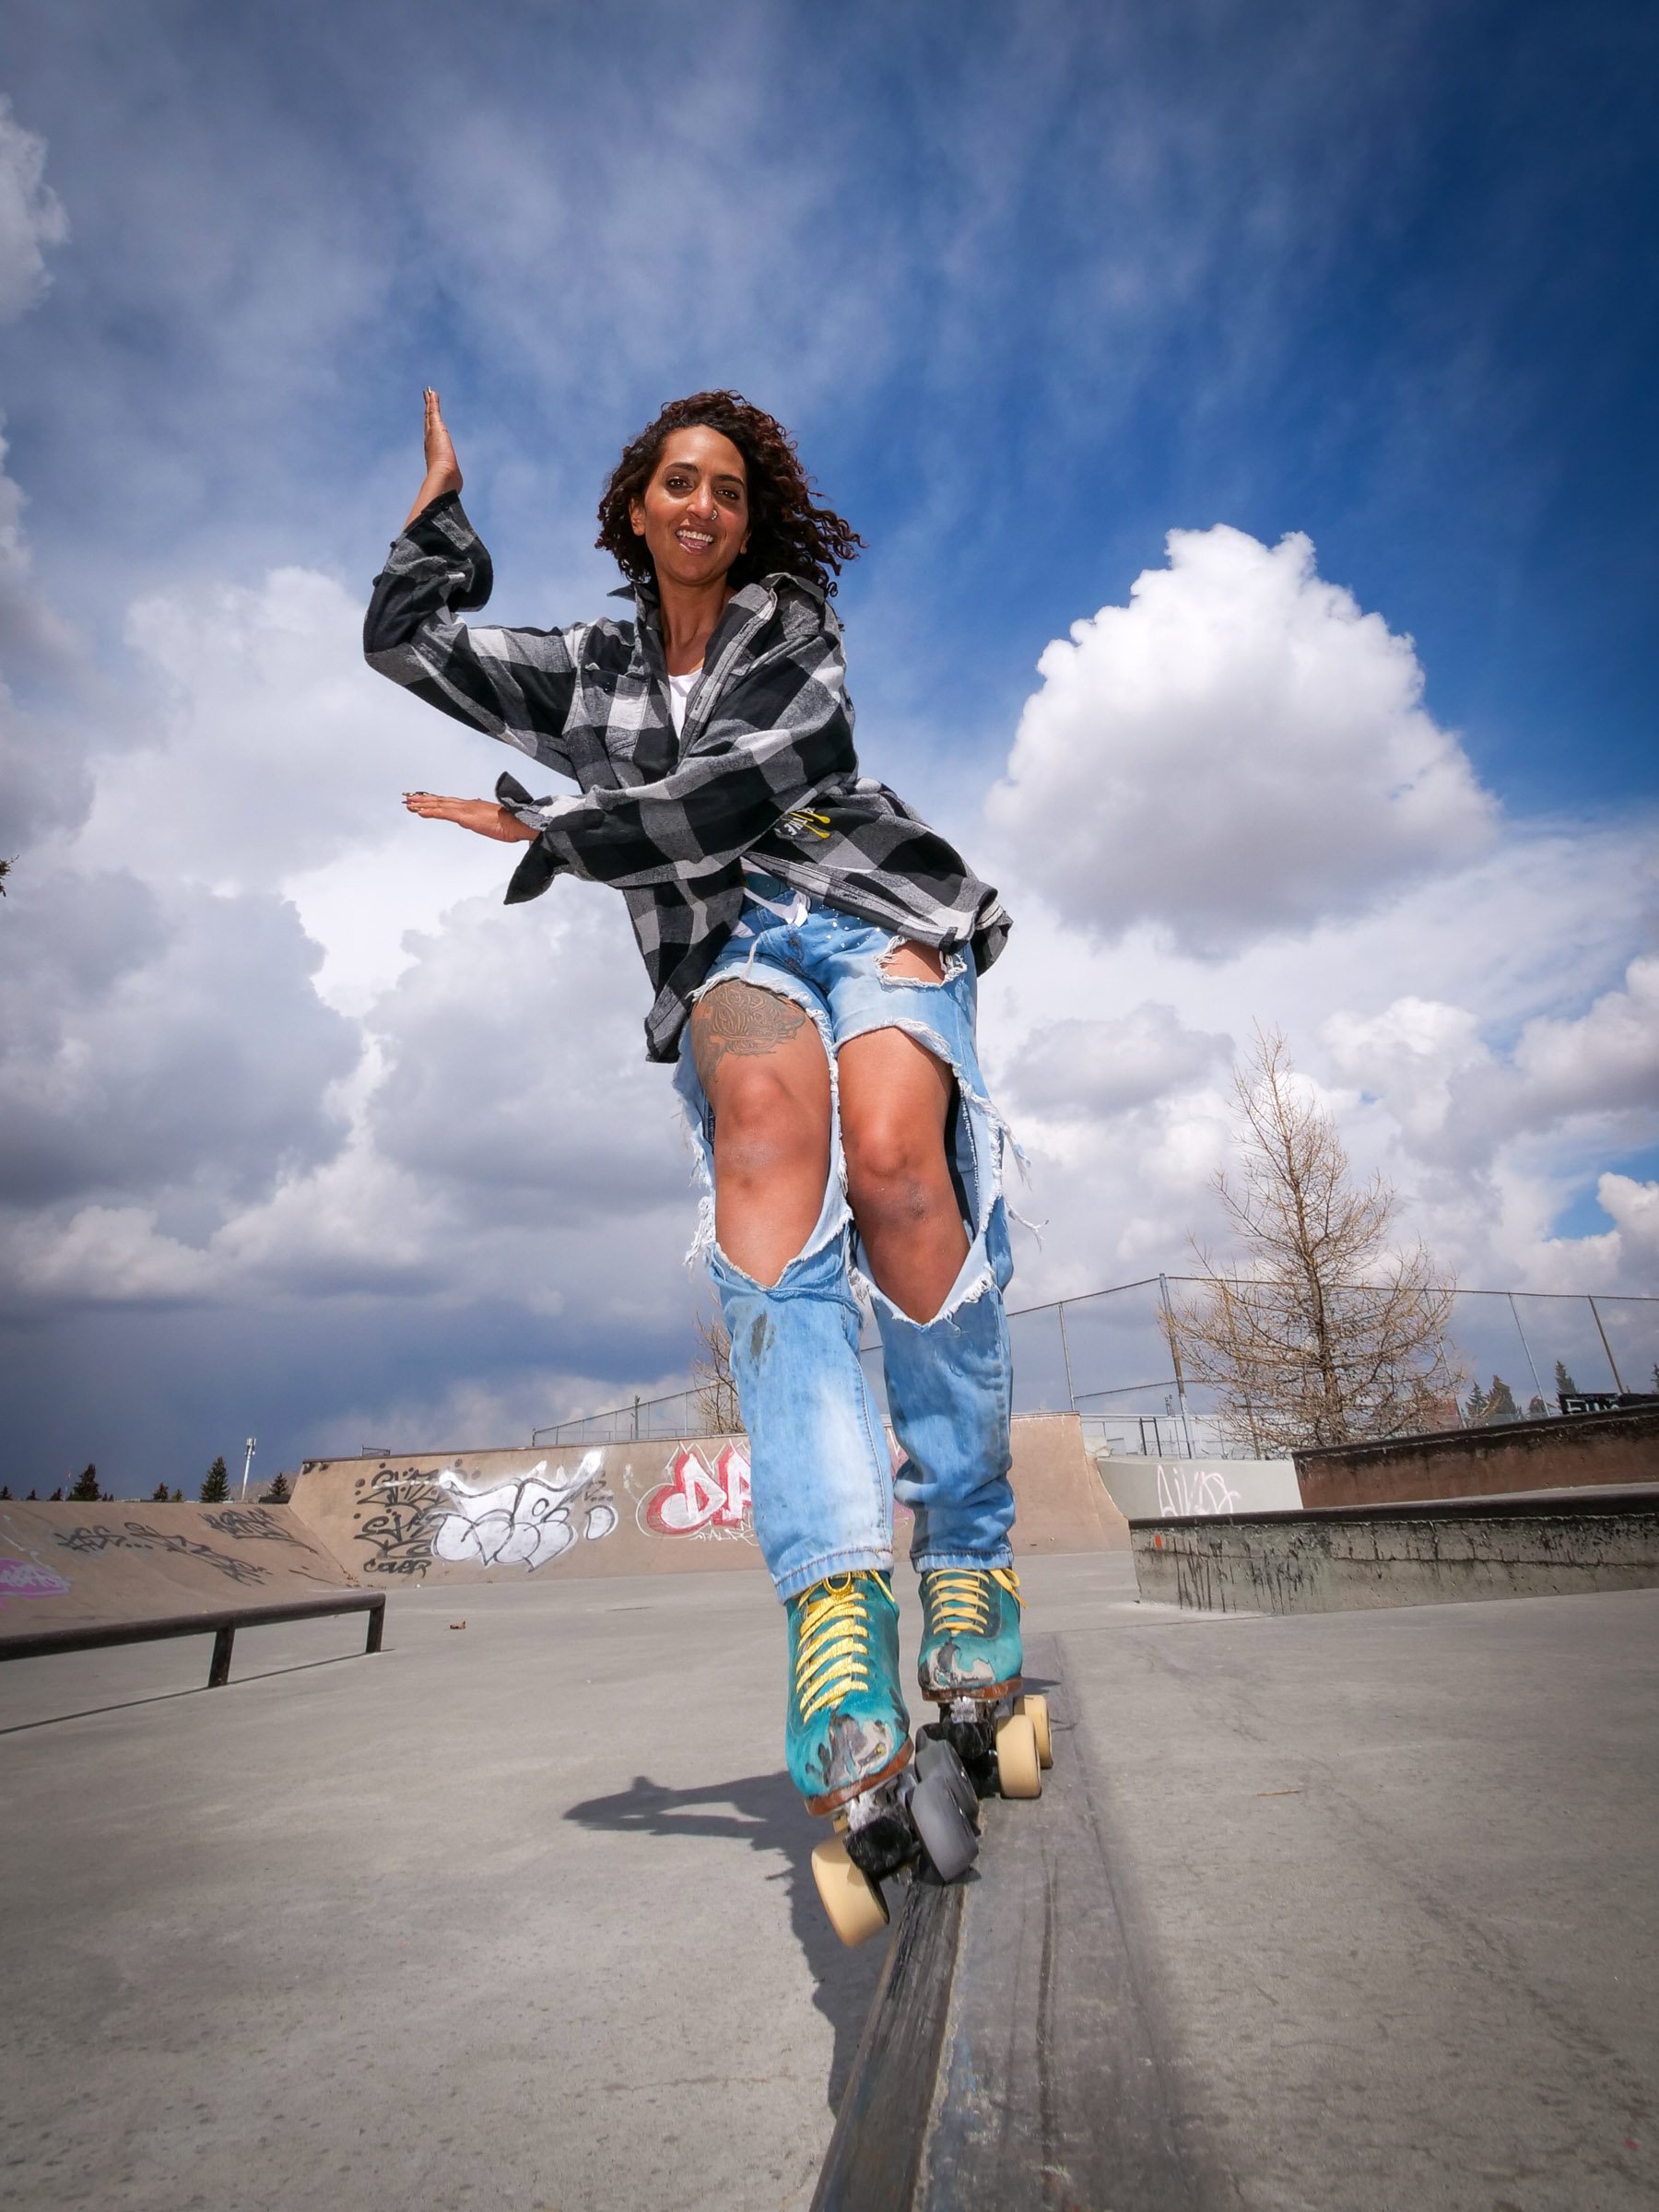
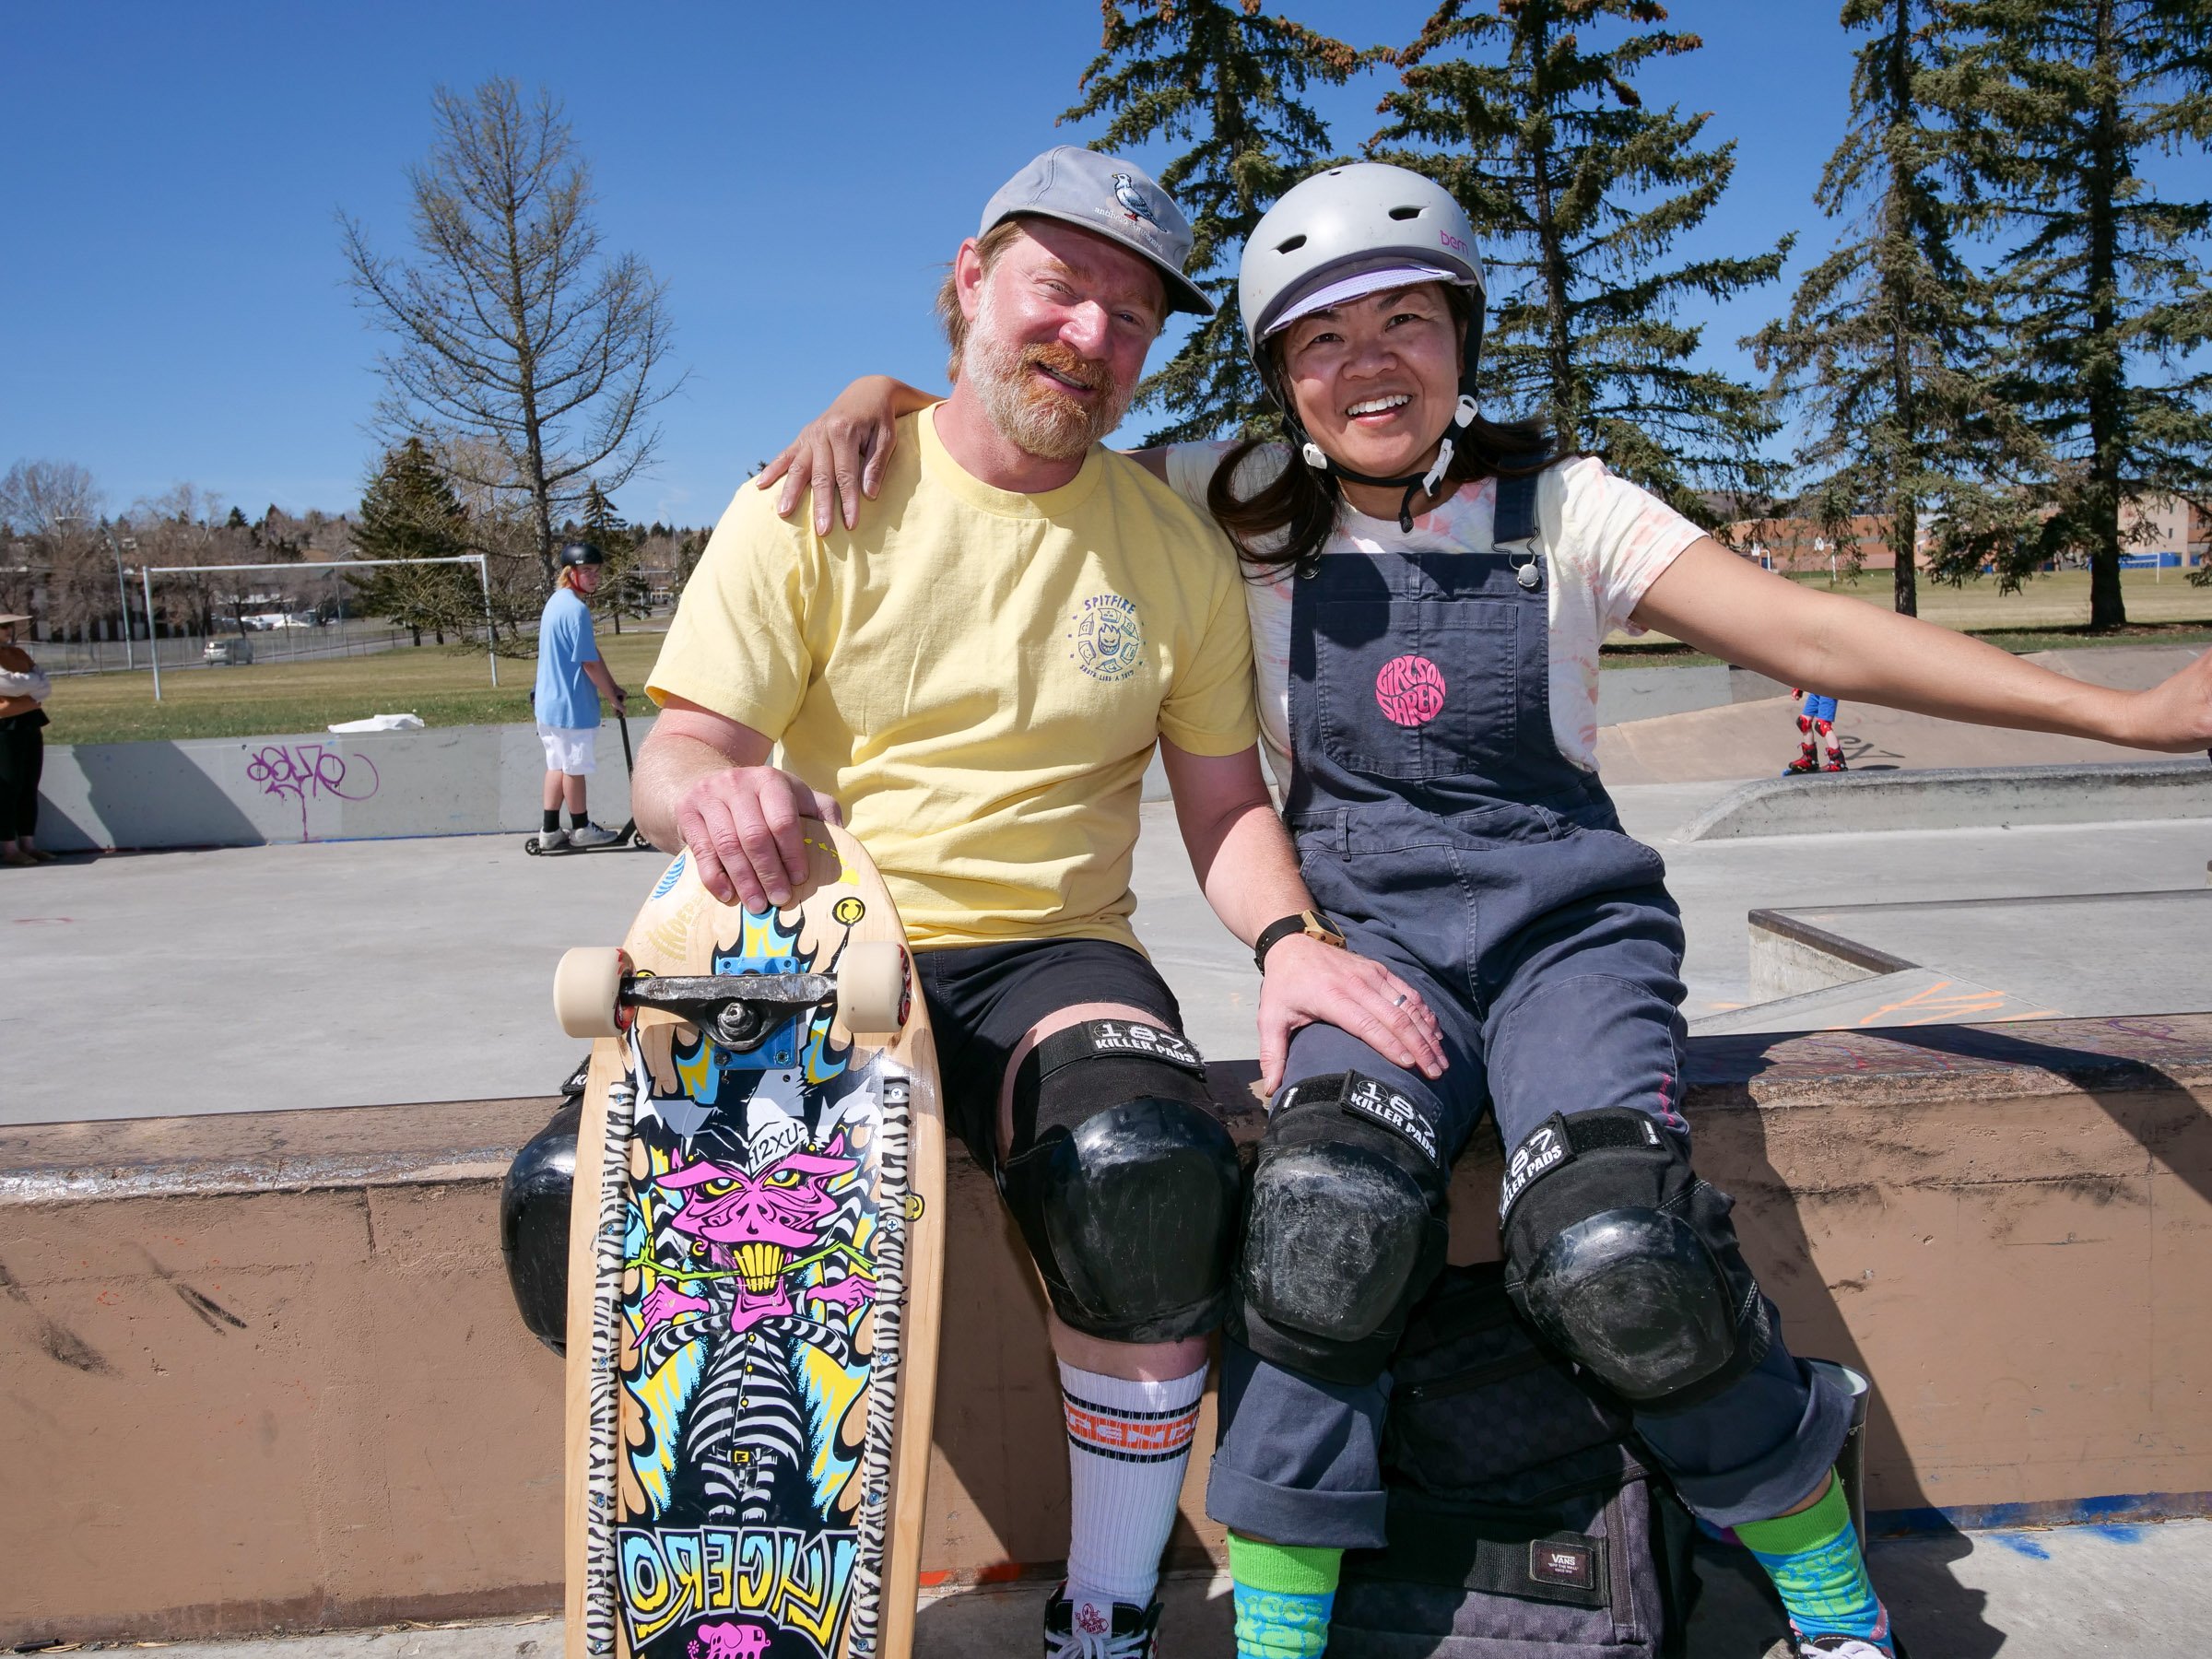
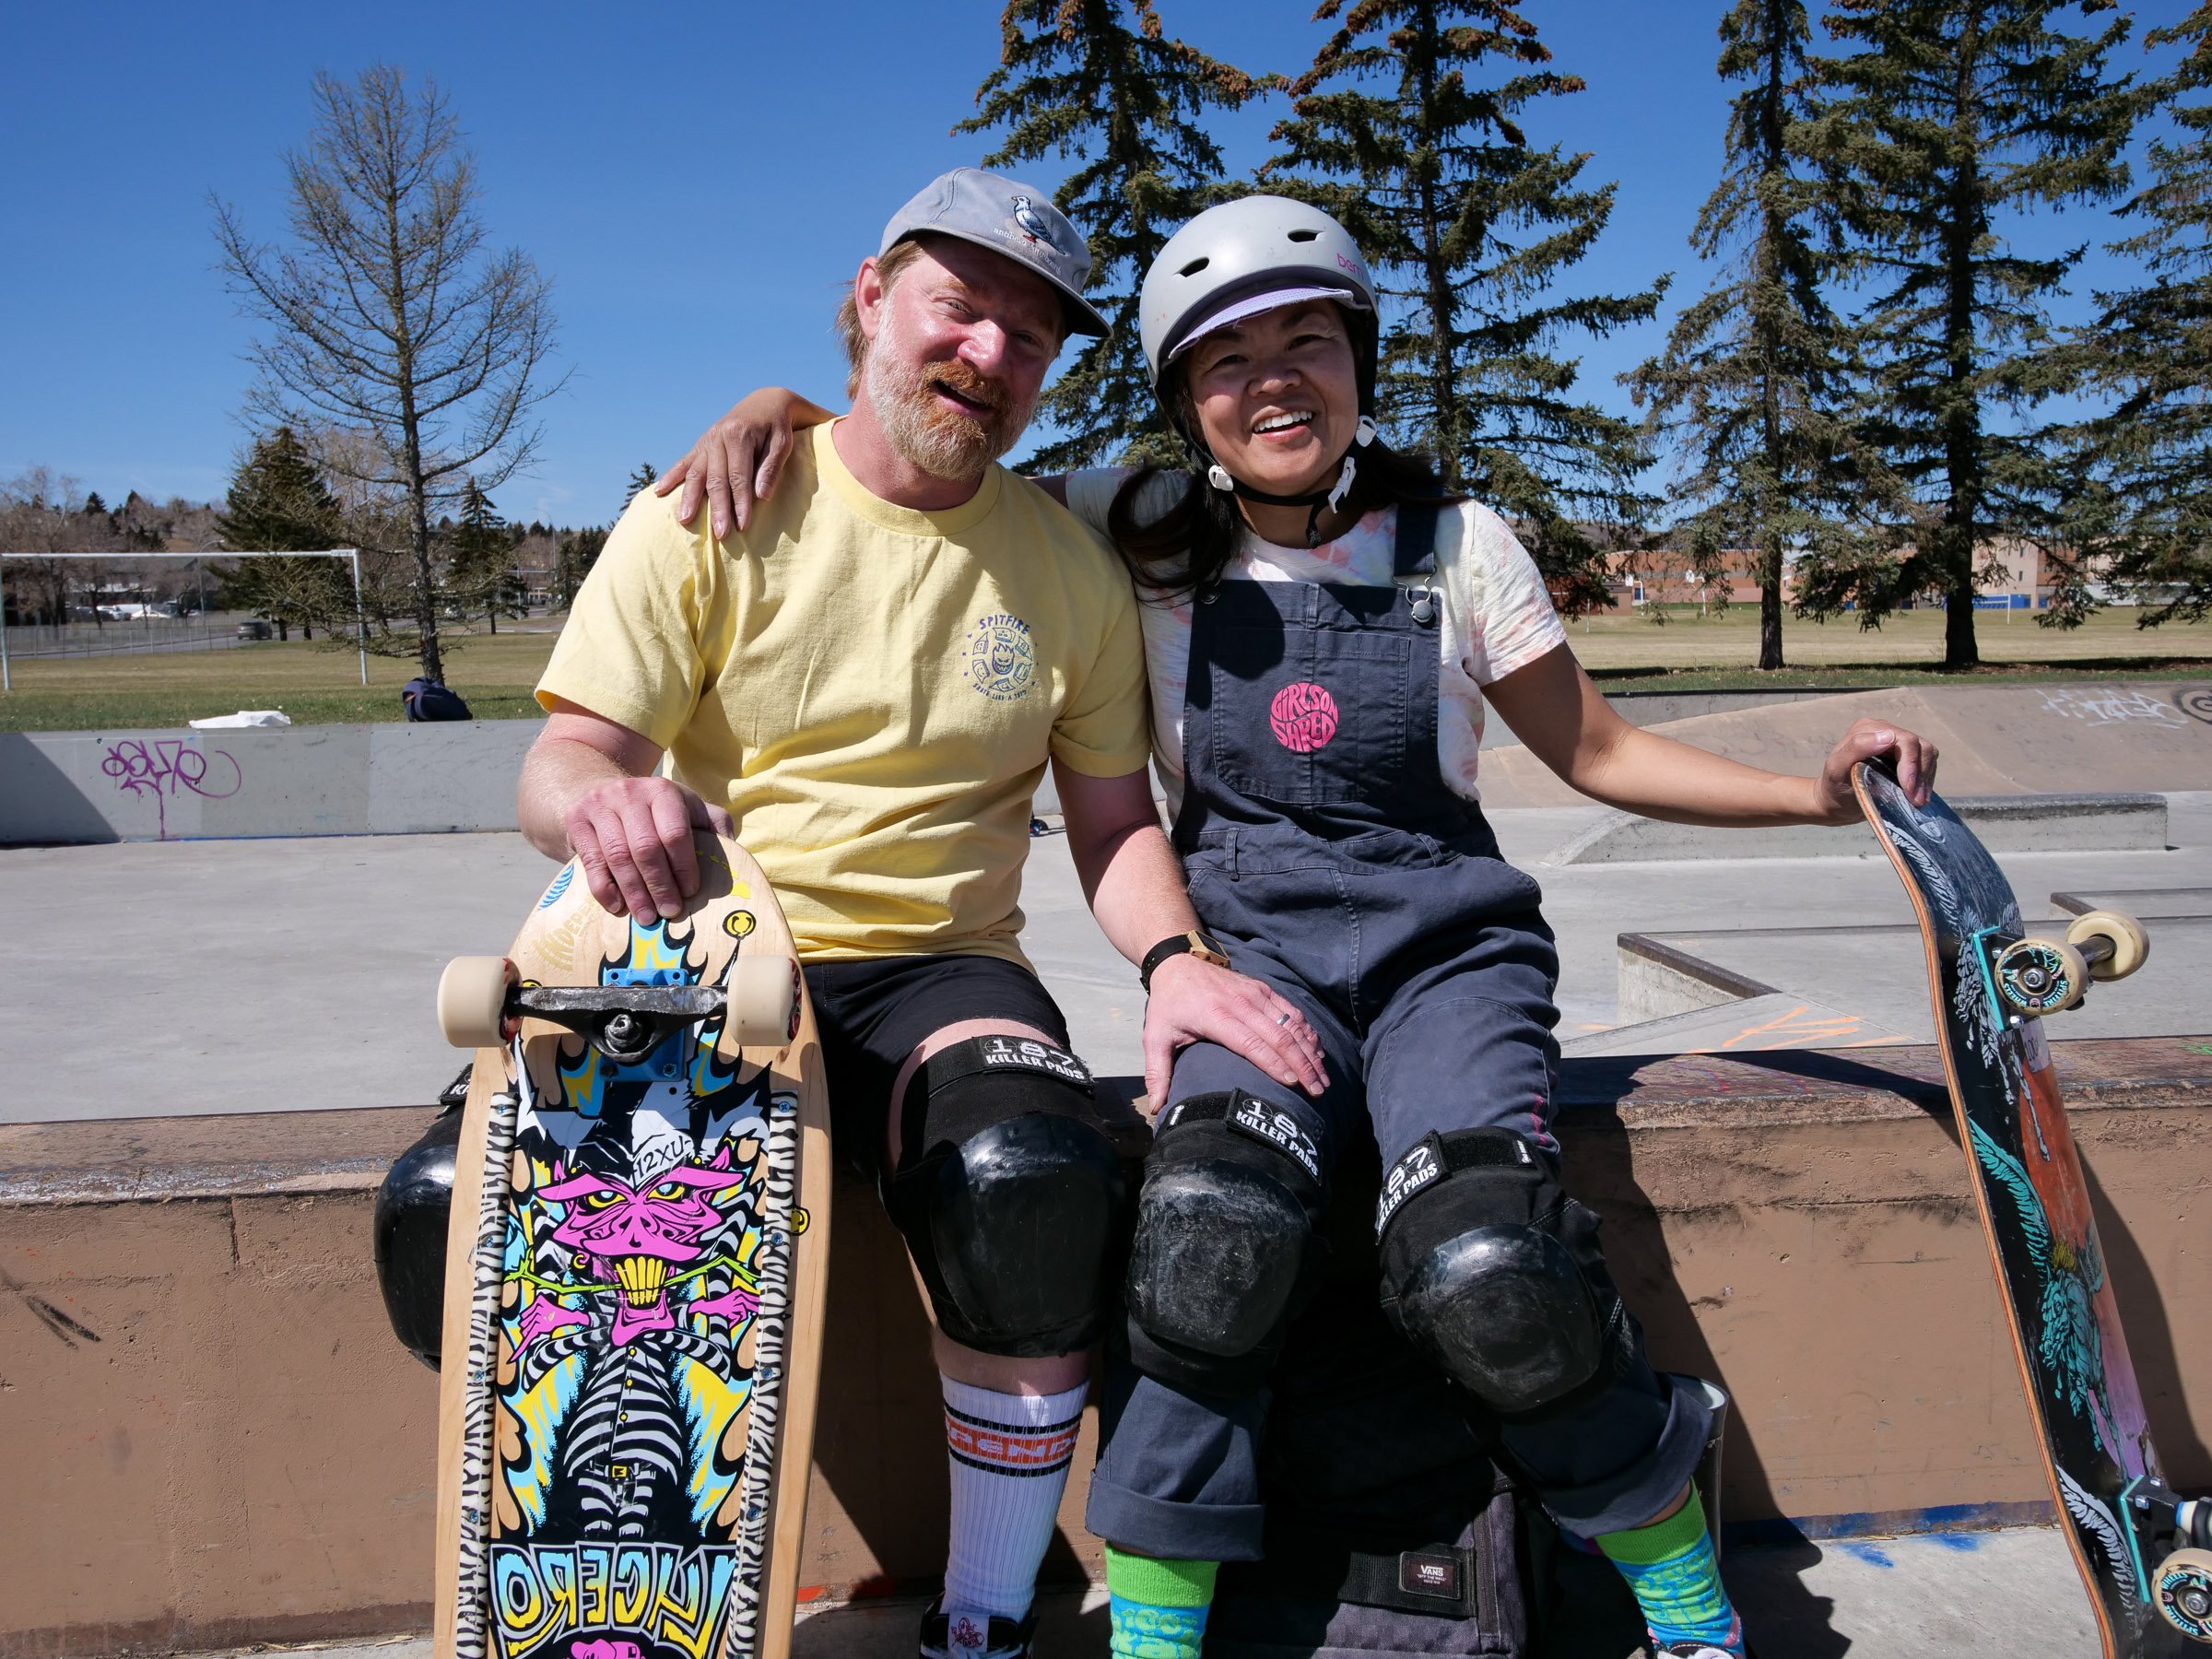
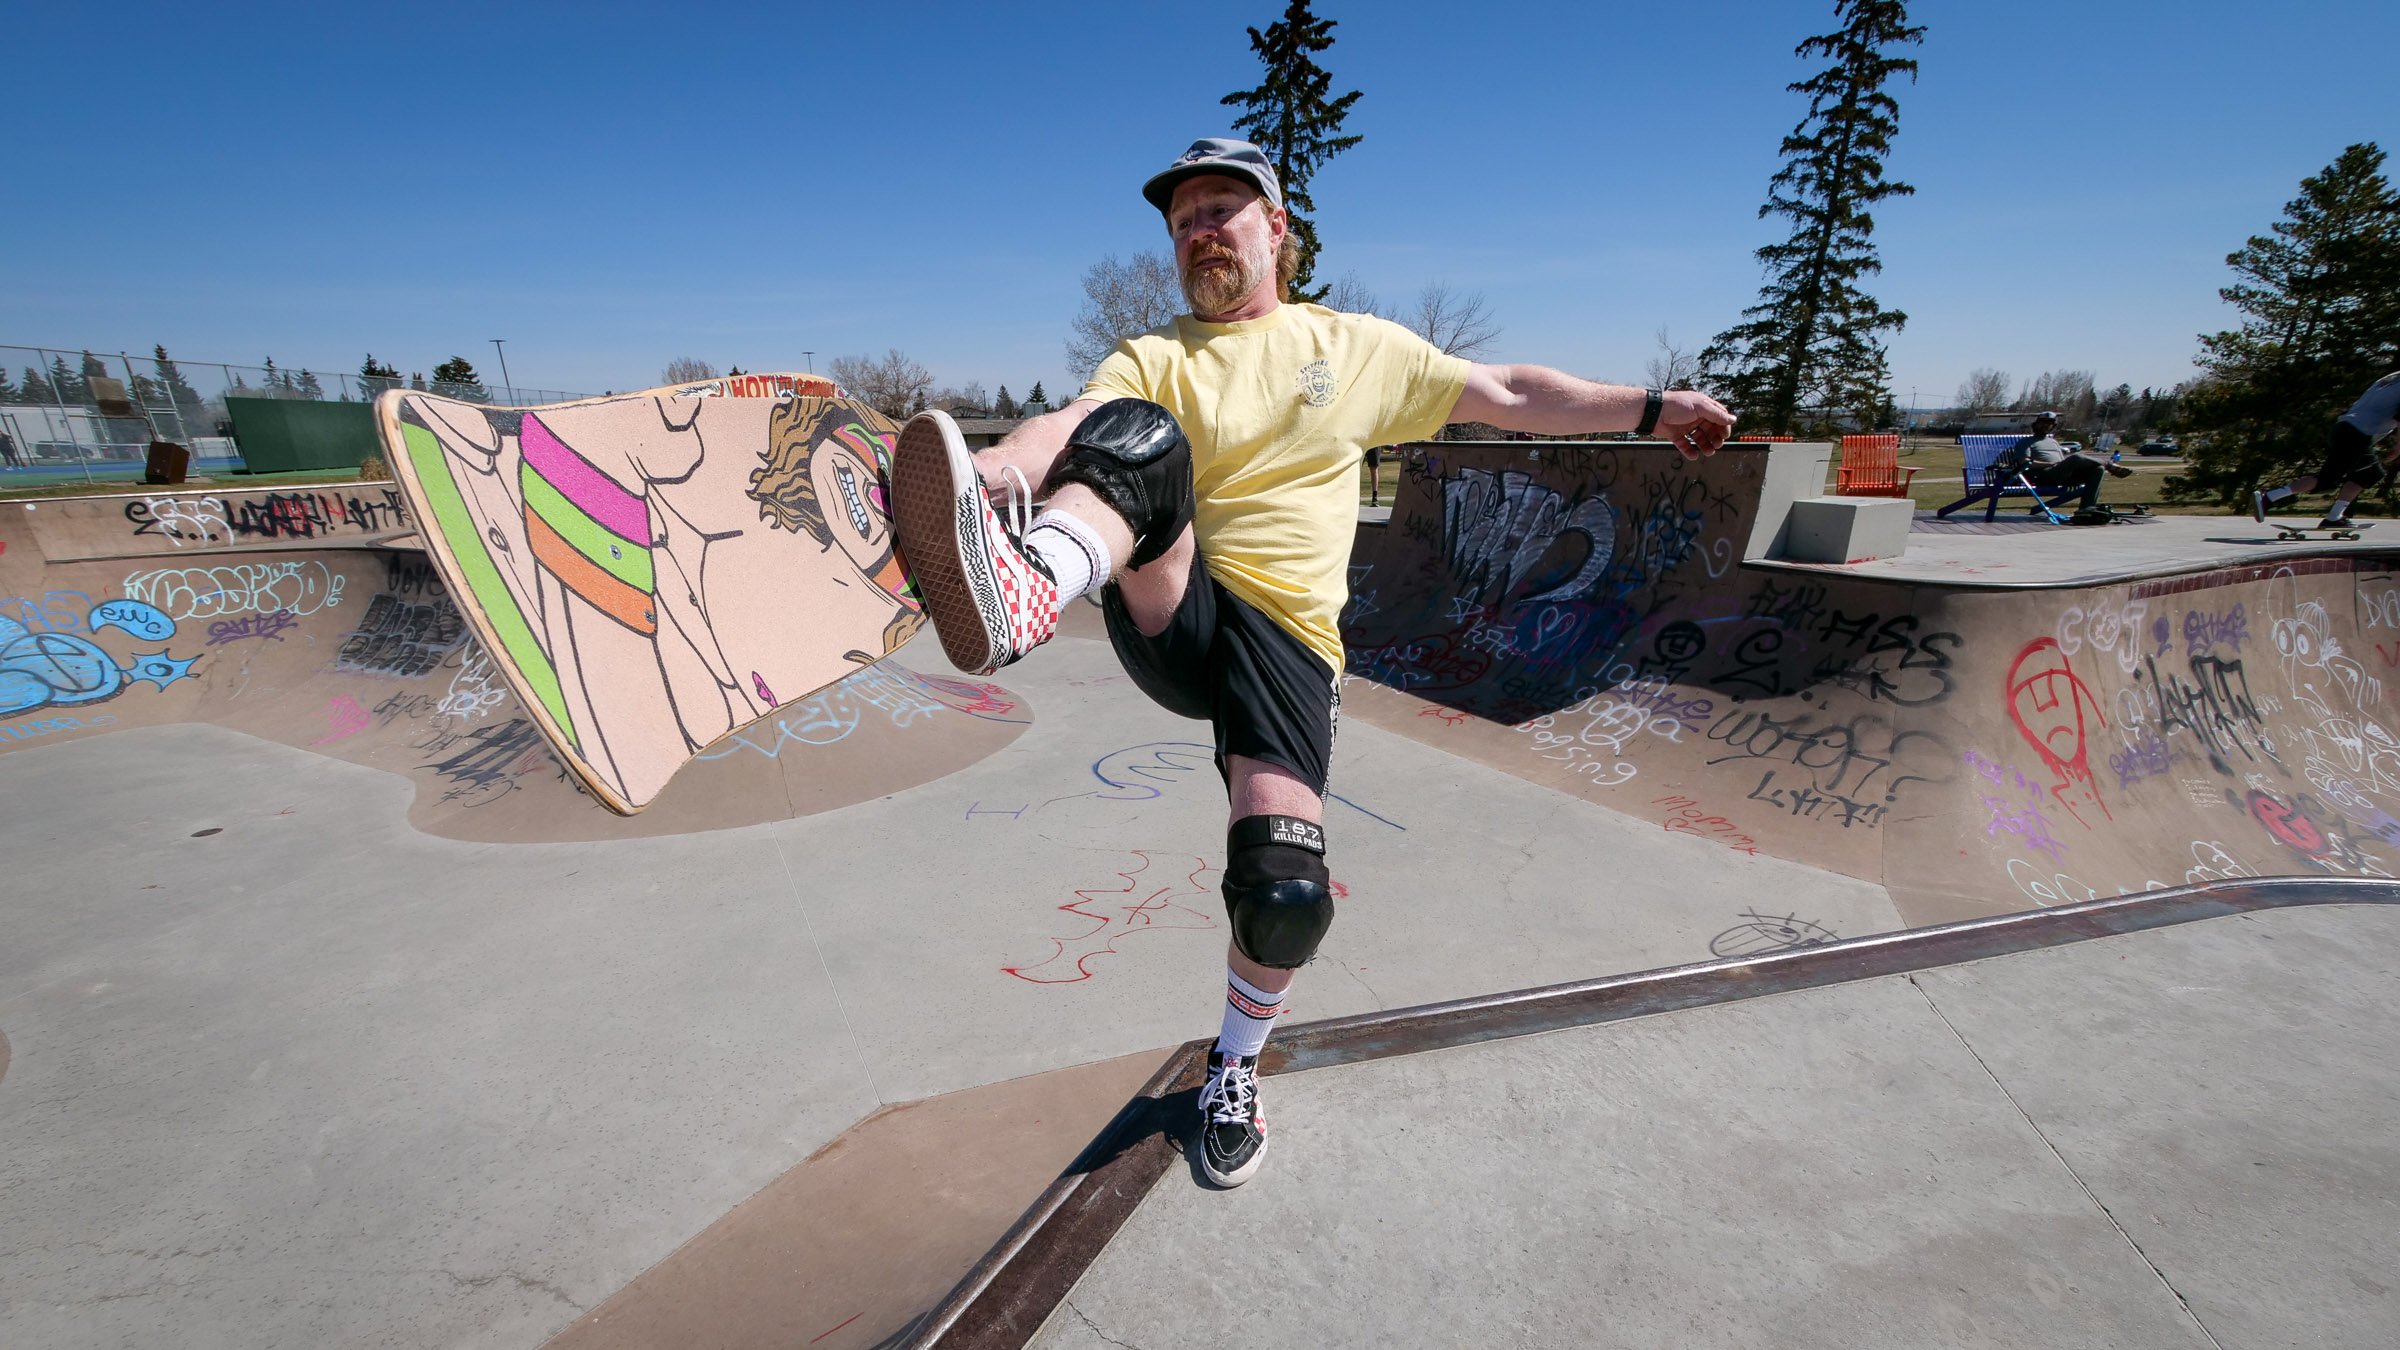
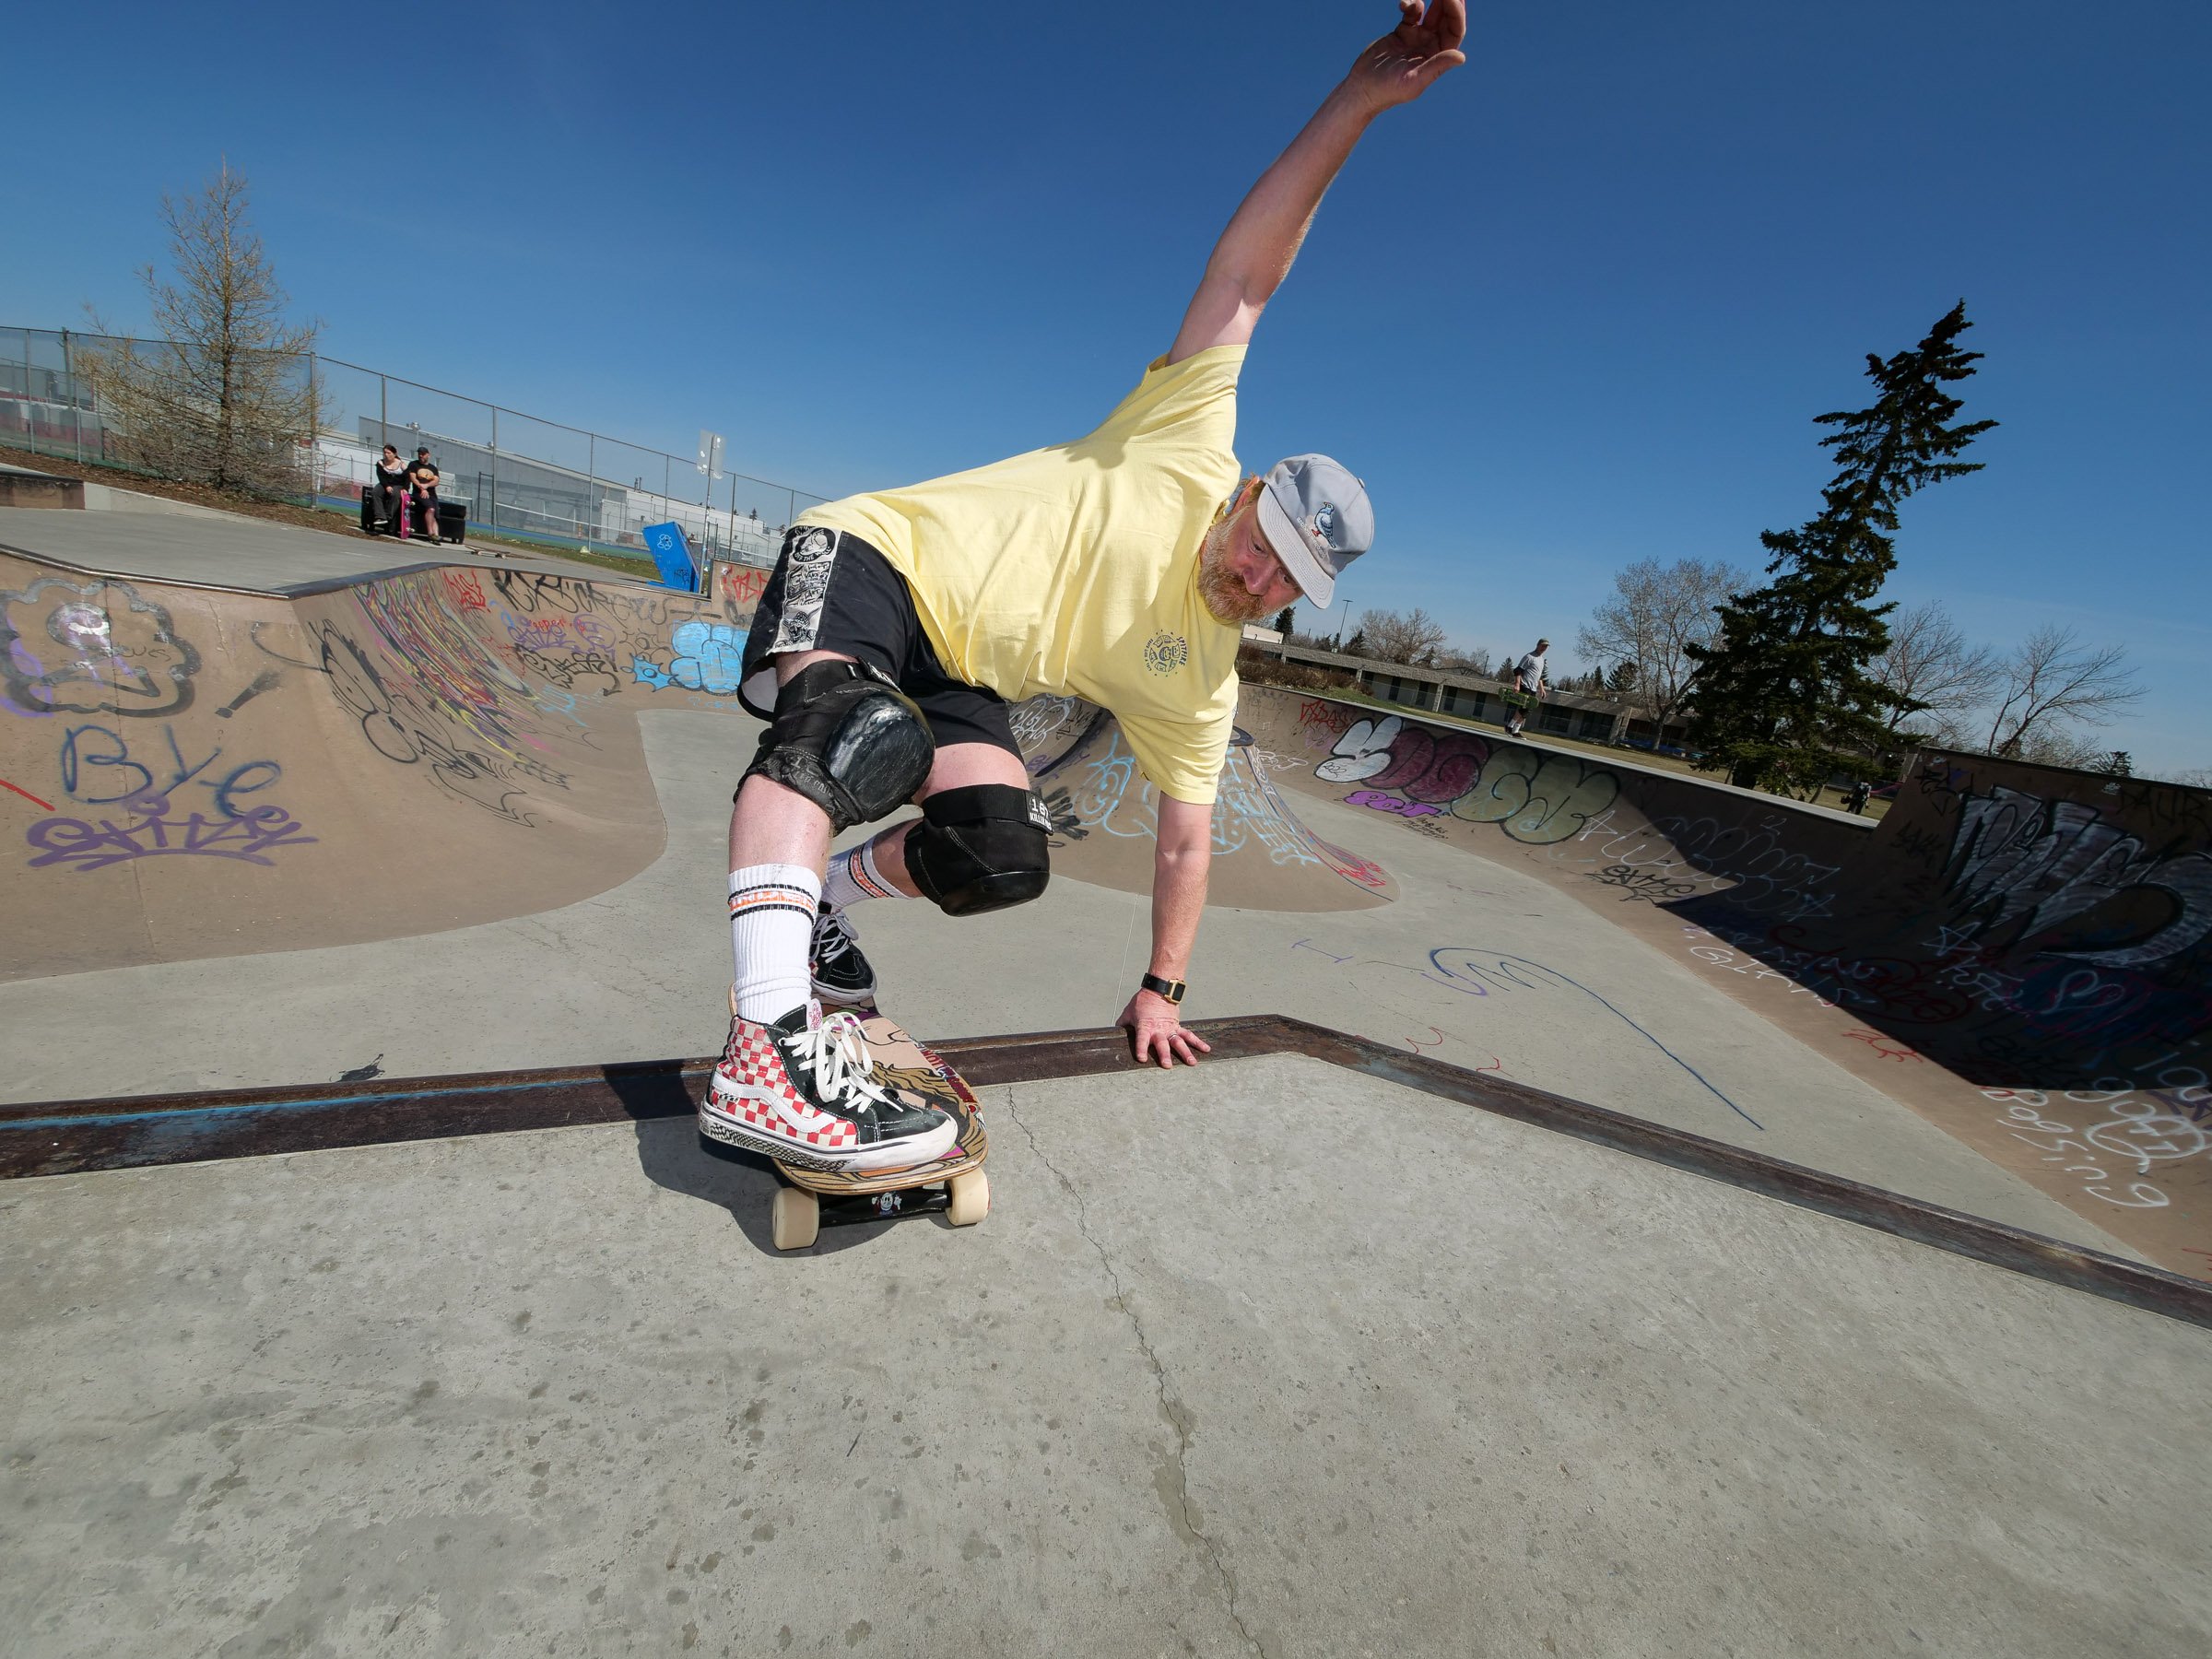
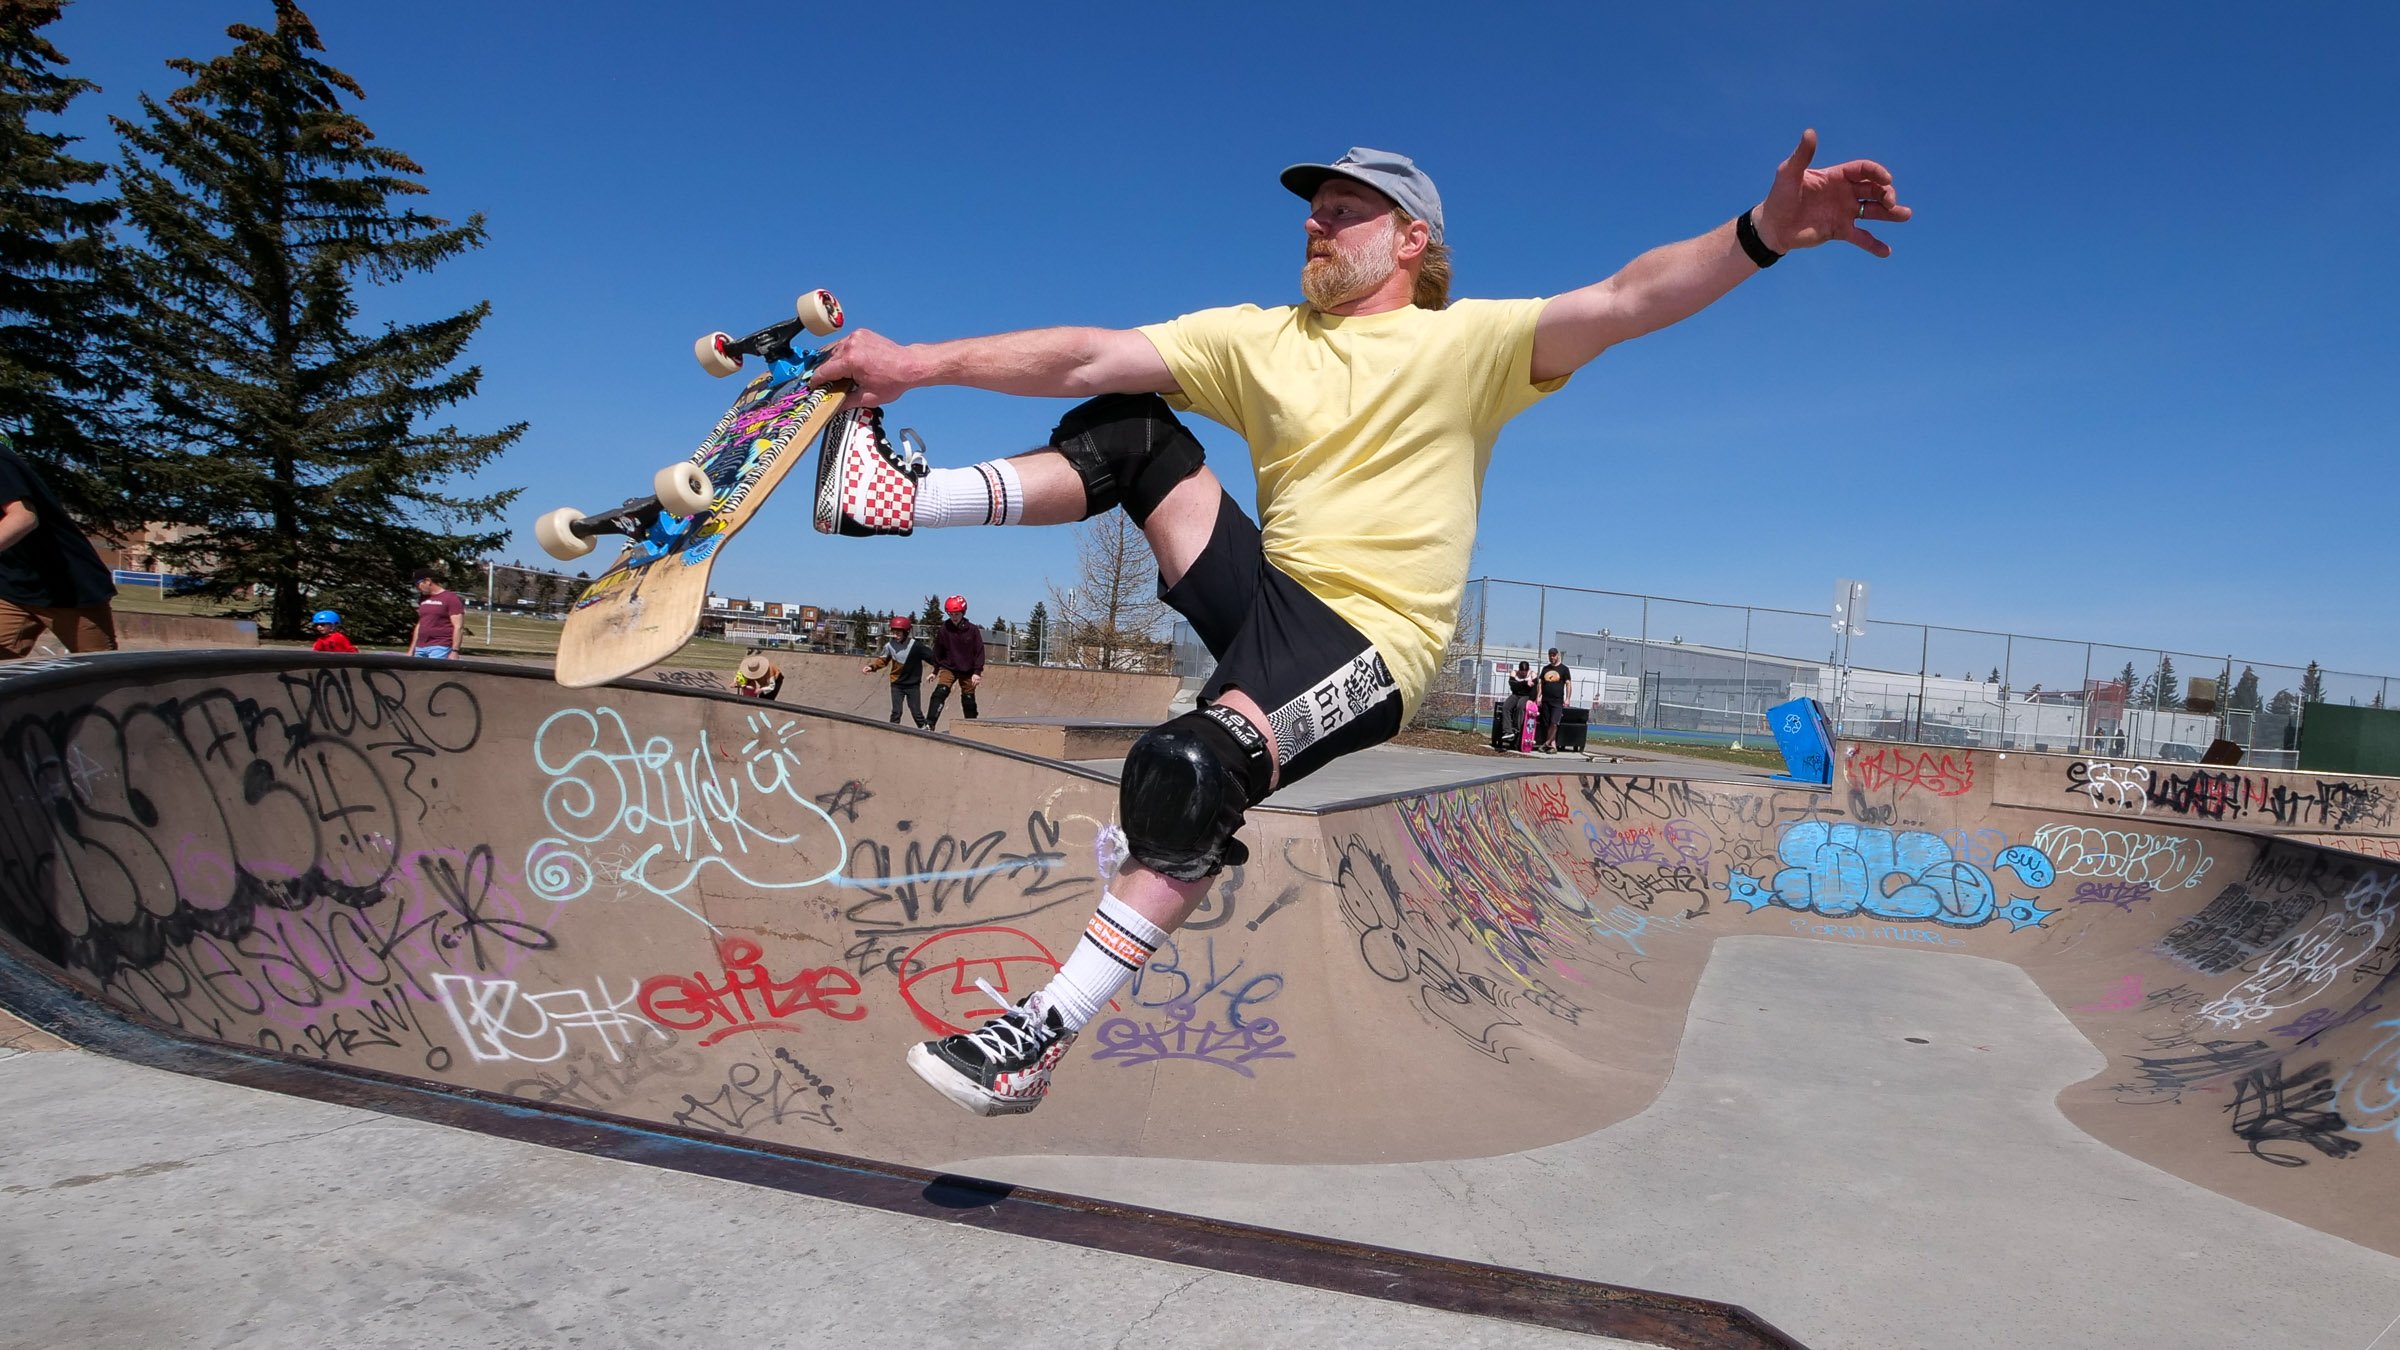
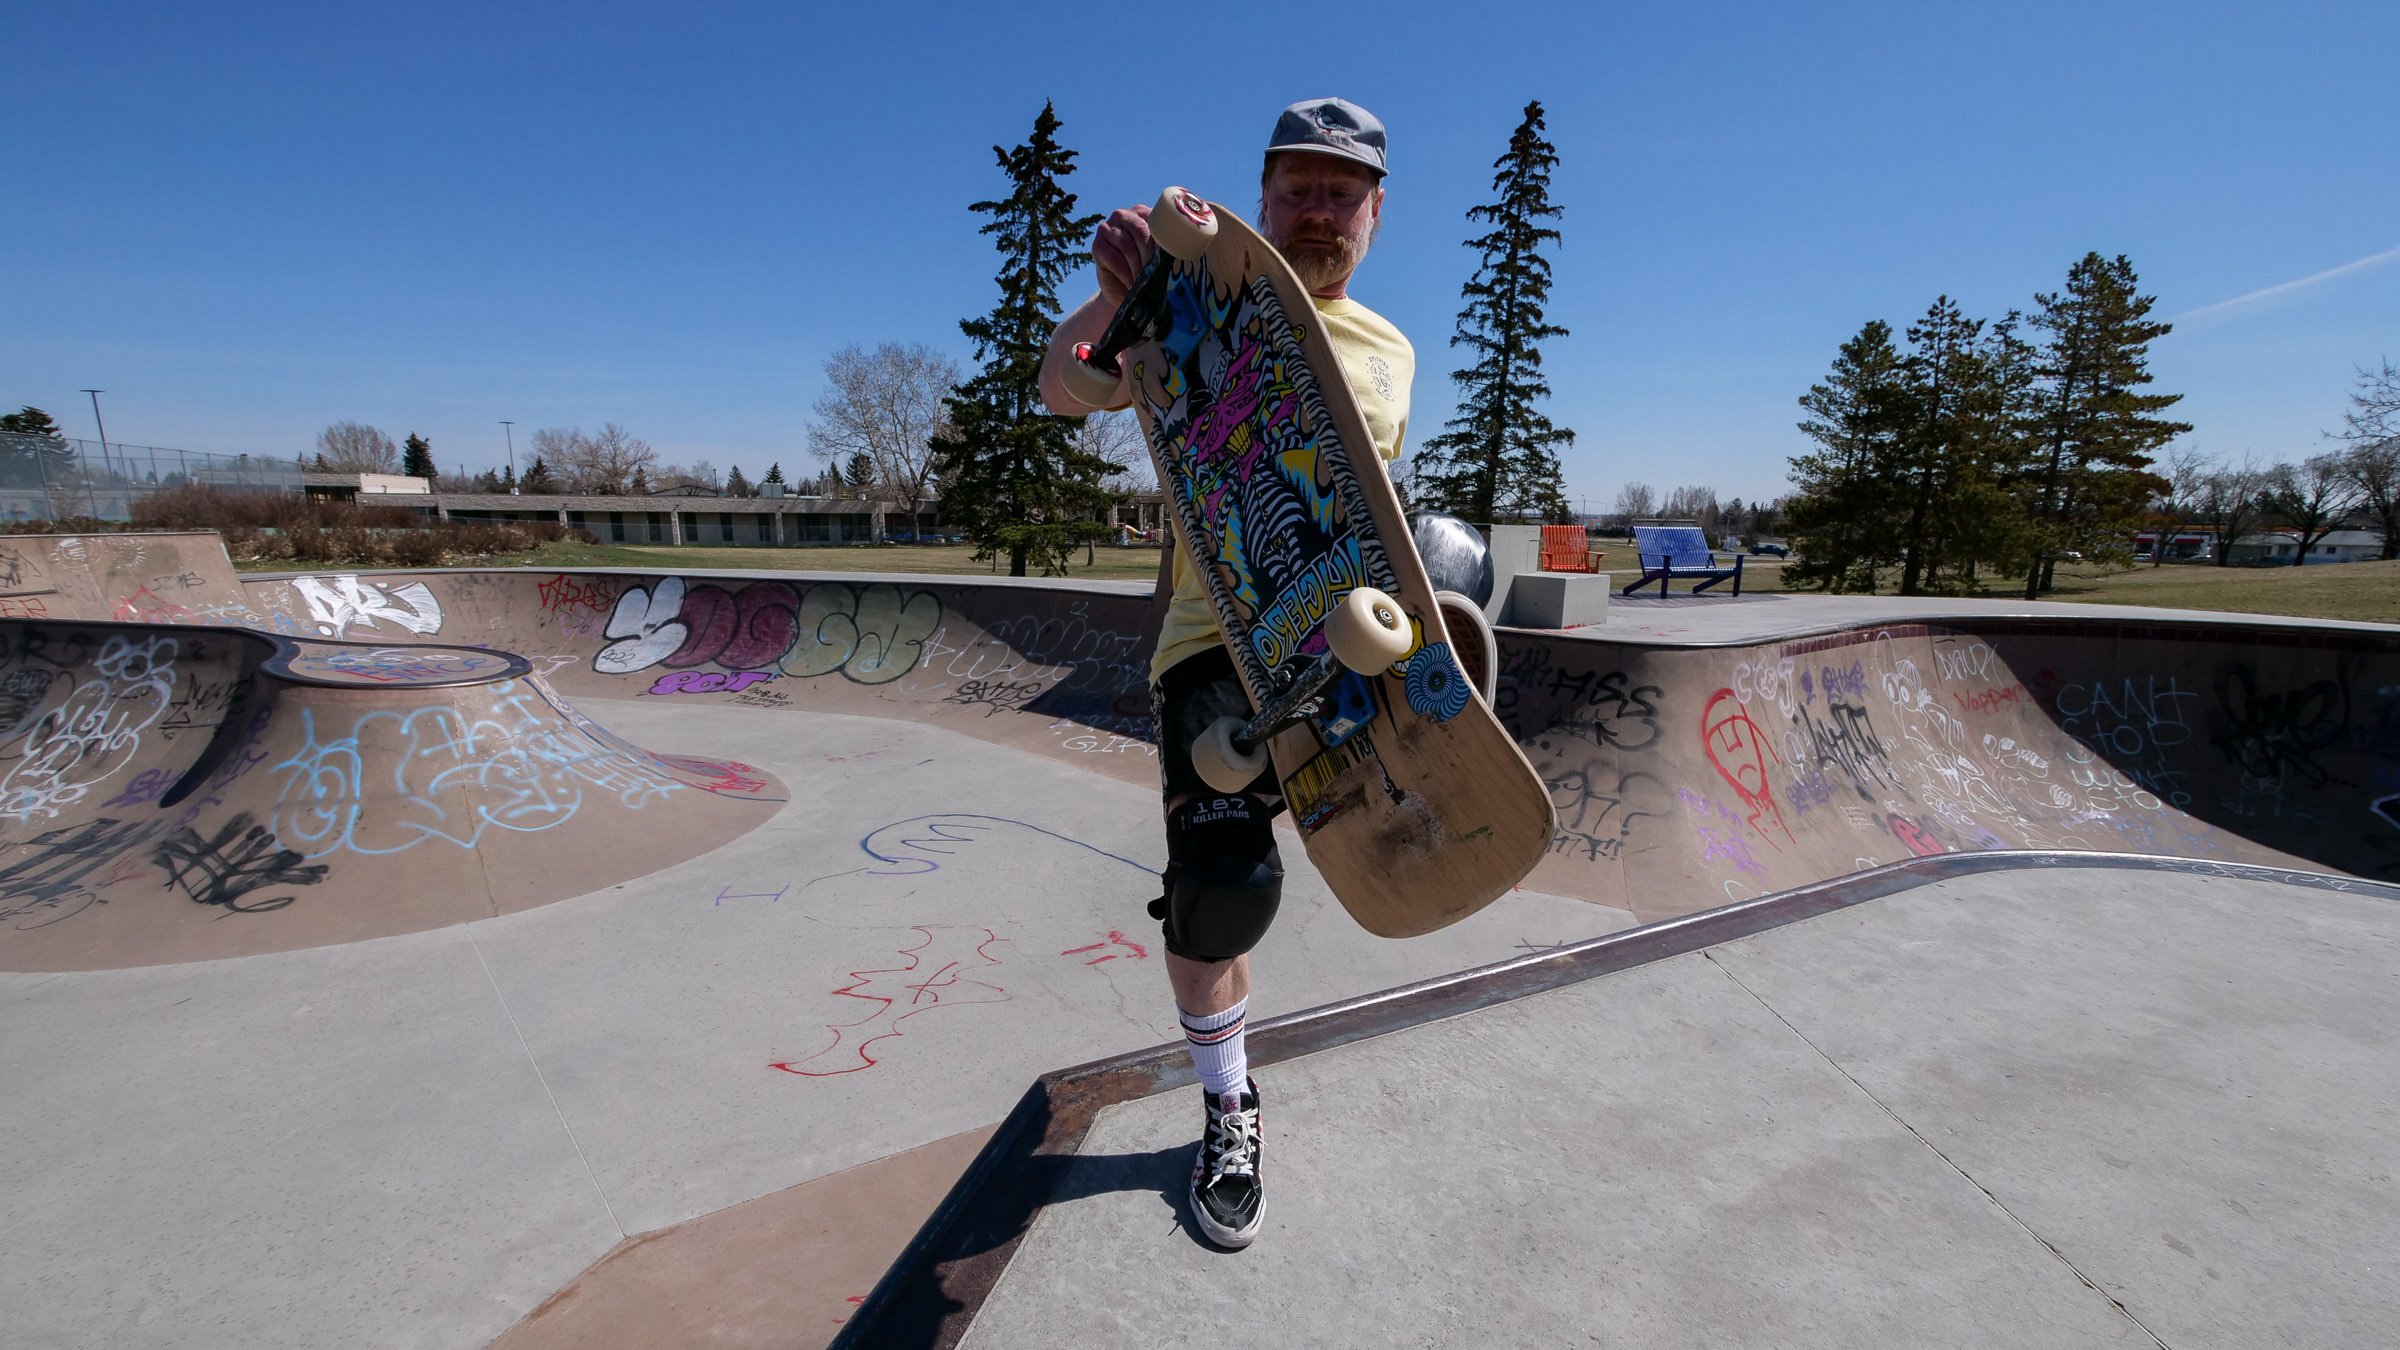
Here's a selection of photos taken with and without Godox flash. All photos are using the Lumix G9 and 7-14mm lens.
So as you can probably see from these photos using a flash helps to fill in the shadows and also adds a nice catch light to your subject's eyes.

Don't be afraid to experiment.
You're going to definitely need to test. You might need a thousand pictures to nail this. It takes practice. But you're eventually going to learn what a good starting point is.
I often start with these settings:
ISO 200
1/1000s
f/5.6 - if it’s too bright close your aperture. Too dark, open it up.
For more info about this Godox Flash and how to use it off the camera you can check out this video here on YouTube.